Palo Alto Networks Cortex SOAR on premise Superna Zero Trust Snapshot, User Lockout Playbooks
- Playbook Integration with Palo Alto Cortex xSOAR
- Overview
- Key Benefits
- Support Statement
- Solution Overview
- Solution Configuration in Cortex xSoar and Defender Zero Trust
- Prerequisites
- Configuration Steps for Snapshot and User Lockout Playbooks
- Configure the Snapshot playbook
- Configure the User Lockout Playbook
- Configure the Request User Storage Lockout or Unlock Playbook
- Use Cases for these playbooks
Playbook Integration with Palo Alto Cortex xSOAR
Overview
SecOps Automation is a key requirement to combat the never ending threats to corporate data. Palo Alto Cortex SOAR (Security orchestration, automation and response) platform enables playbooks and automation to reduce the time to detect, respond to cross device threats. To support this type of automation, data from external security tools is vital in order to provide complete accurate and concise threat detection and details to allow automation to and SecOps teams the ability to respond to threats across the corporate IT infrastructure.
Key Benefits
- This integration allows customers to upload a playbook that protects storage by leveraging Superna's Zero Trust API and Cyber Storage Capabilities
- Integrates with native playbook yaml definition file and easily customized for the environement.
Support Statement
- NOTE: This documentation is provided "as is" without support for 3rd party software. The level of support for this integration guide is best effort without any SLA on response time. No 3rd party product support can be provided by Superna directly. 3rd party components require support contracts
Solution Overview
Superna Defender Zero Trust API is the cornerstone technology used to integrate with SIEM, SOAR and XDR platforms. Automation begins with data that summarizes the threat and places that information into a SOAR to be acted on by Secops and run playbooks to protect corporate IT assets from vulnerabilities and insider or external attackers. In order to allow a SOAR to act on the data from an external tool it is vital to field map data from one alert to the schema used within the SOAR. This guide will cover basic field mapping used to push Zero Trust Ransomware Defender alerts into xSOAR
Solution Configuration in Cortex xSoar and Defender Zero Trust
Prerequisites
- Installed Superna Security Edition
- License key for the Zero Trust API or Subscription to Security Edition
- Installed Cortex xSOAR
- Eyeglass API token
- Login to Eyeglass VM as admin --> eyeglass rest API --> Create new token --> provide a name for the token eg Zert Trust, copy the token to be used in the steps below.
- Followed the Zero Trust integration with Cortex xSOAR, See guide here.
Configuration Steps for Snapshot and User Lockout Playbooks
- Login to Cortex and open the playbooks tab.
- Download the yml definition of the Snapshot playbook here.
- Download the yml definition of the User Lockout playbook here.
- Download the yml definition of the Request User storage lockout here
- Download the yml definition of the Request User unlock Storage here.
- Click the upload button to upload the playbook to the library
Configure the Snapshot playbook
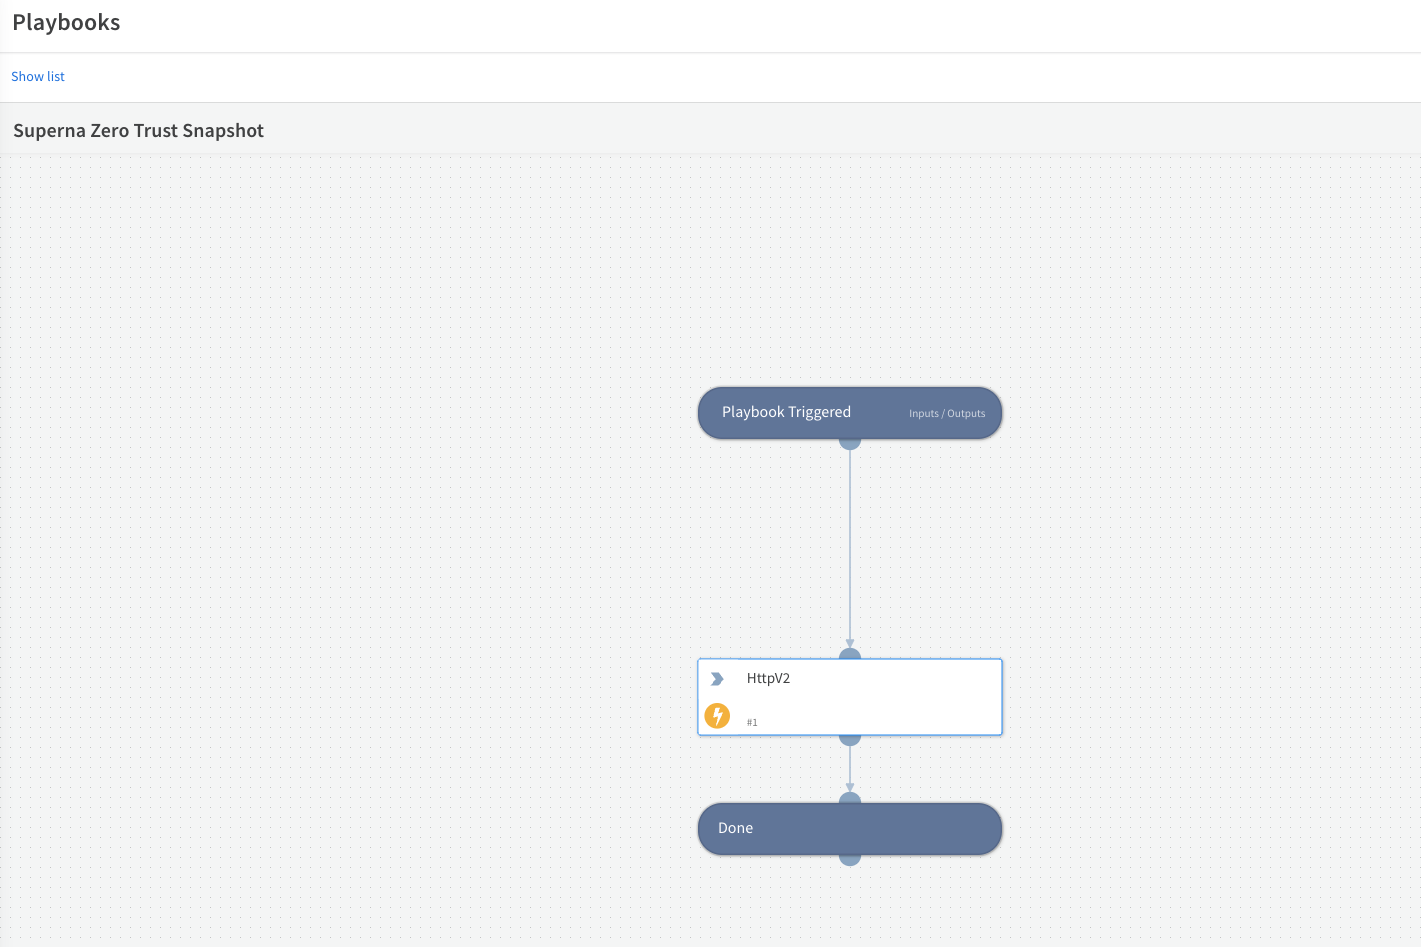
- Click the Httpv2 box to edit the details and click the edit playbook button
- replace the IP address with the correct IP of your Eyeglass VM.
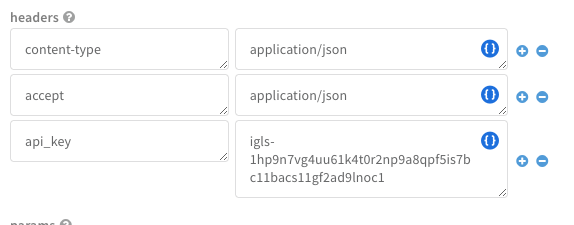
- Replace the api_key value with a token that is correct for your Eyeglass VM.
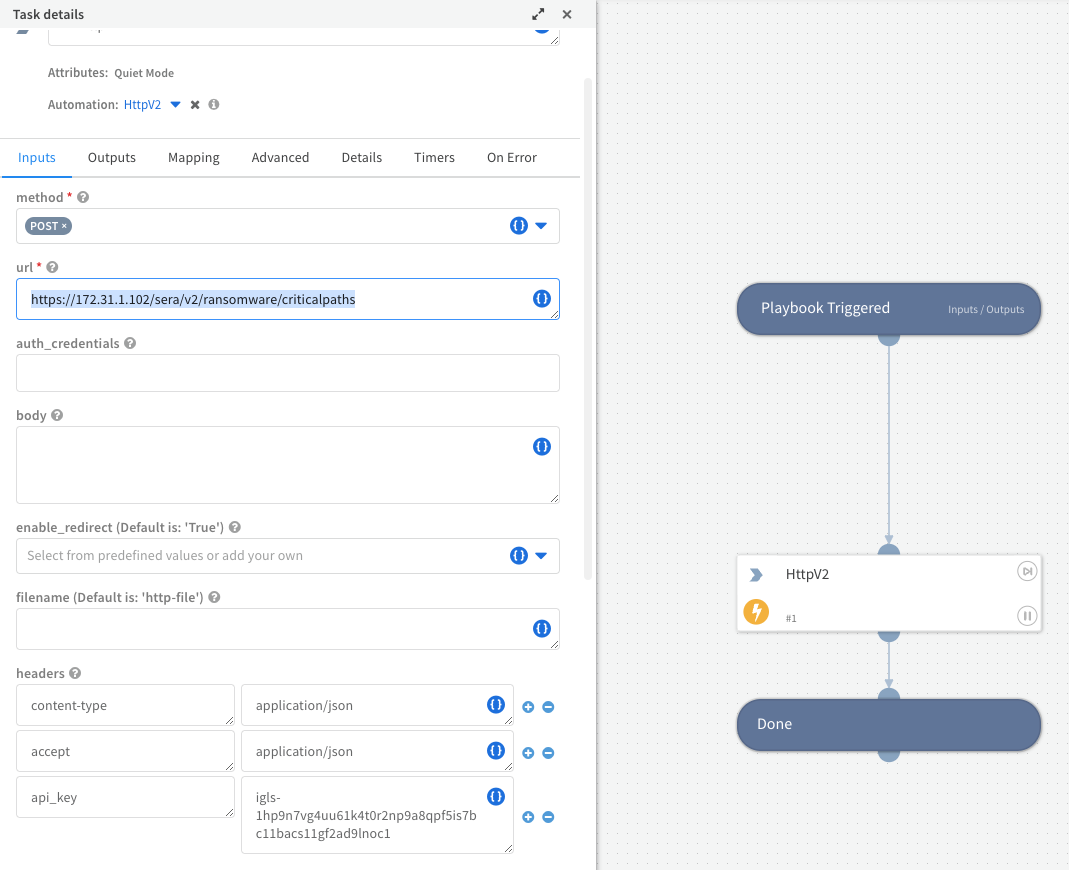
- Click the ok button once done.
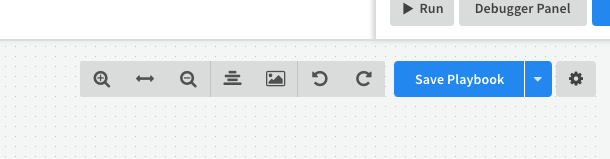
- Click Save Playbook to save the changes.
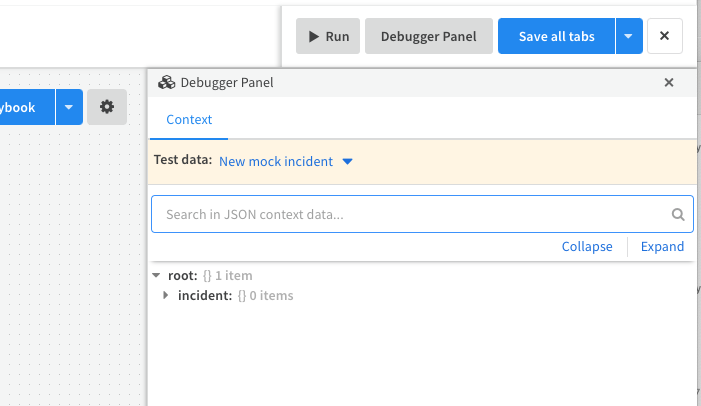
- Testing your playbook, by clicking the Debugger Panel, then Click the Run button.
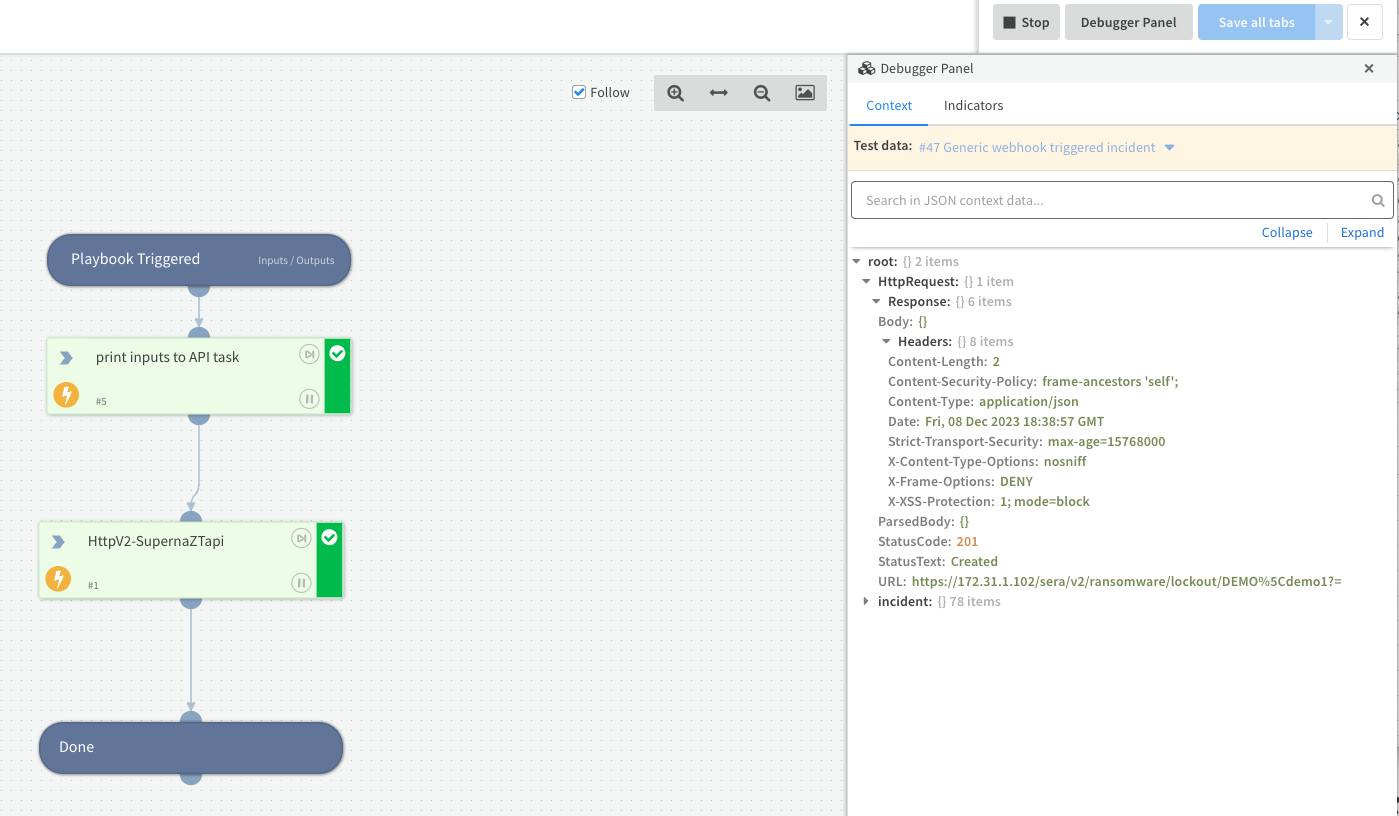
- Successful API call will return 201 http response code, You can expand to see this in the Debugger.
- The httpv2 Box should show green and the debugger http request section should show 201 status code.
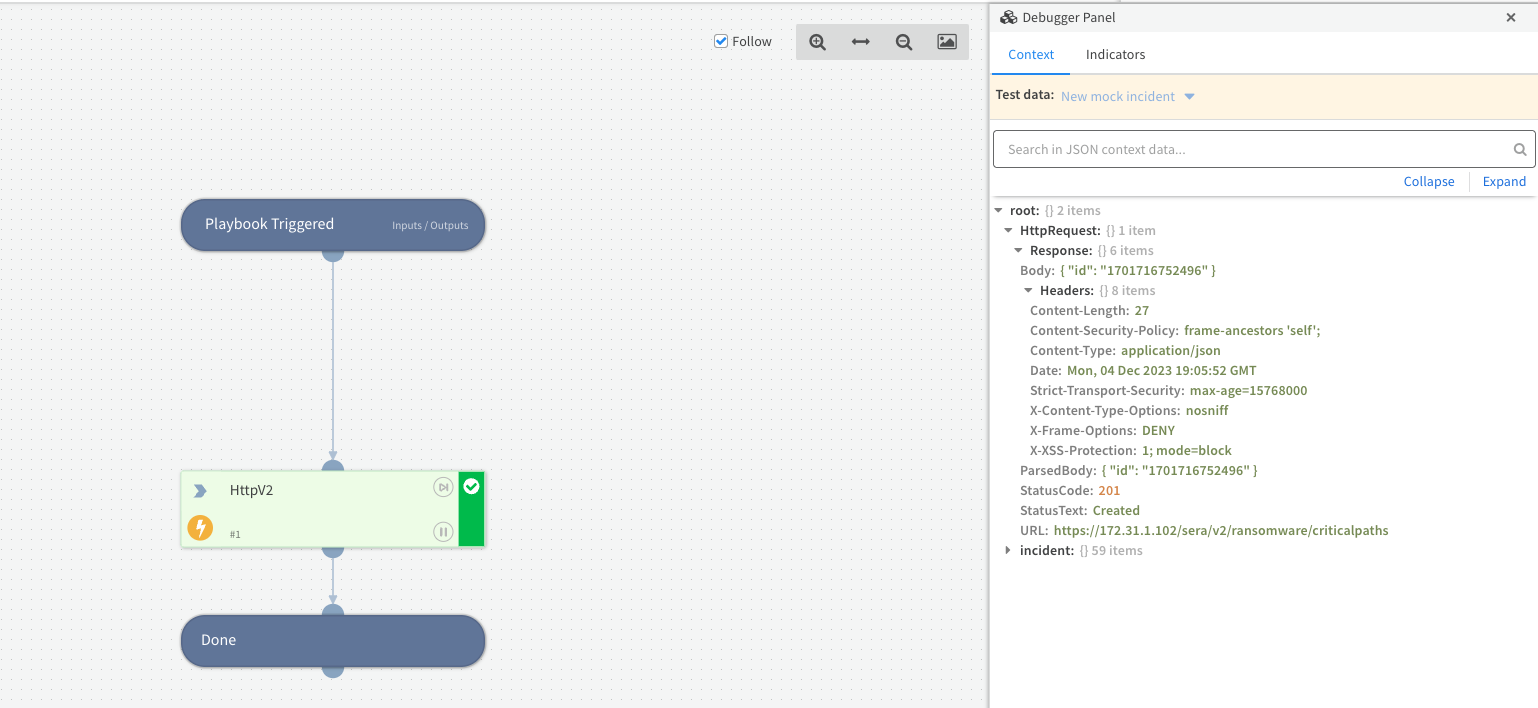
- done.
Configure the User Lockout Playbook
- Follow the Steps below. NOTE: This playbook depends on incidents that are created by Superna Zero Trust webhook integration. This will allow automatic userid extraction from the incident and does not require any prompting to input the user id (domain\username or user@domainname).
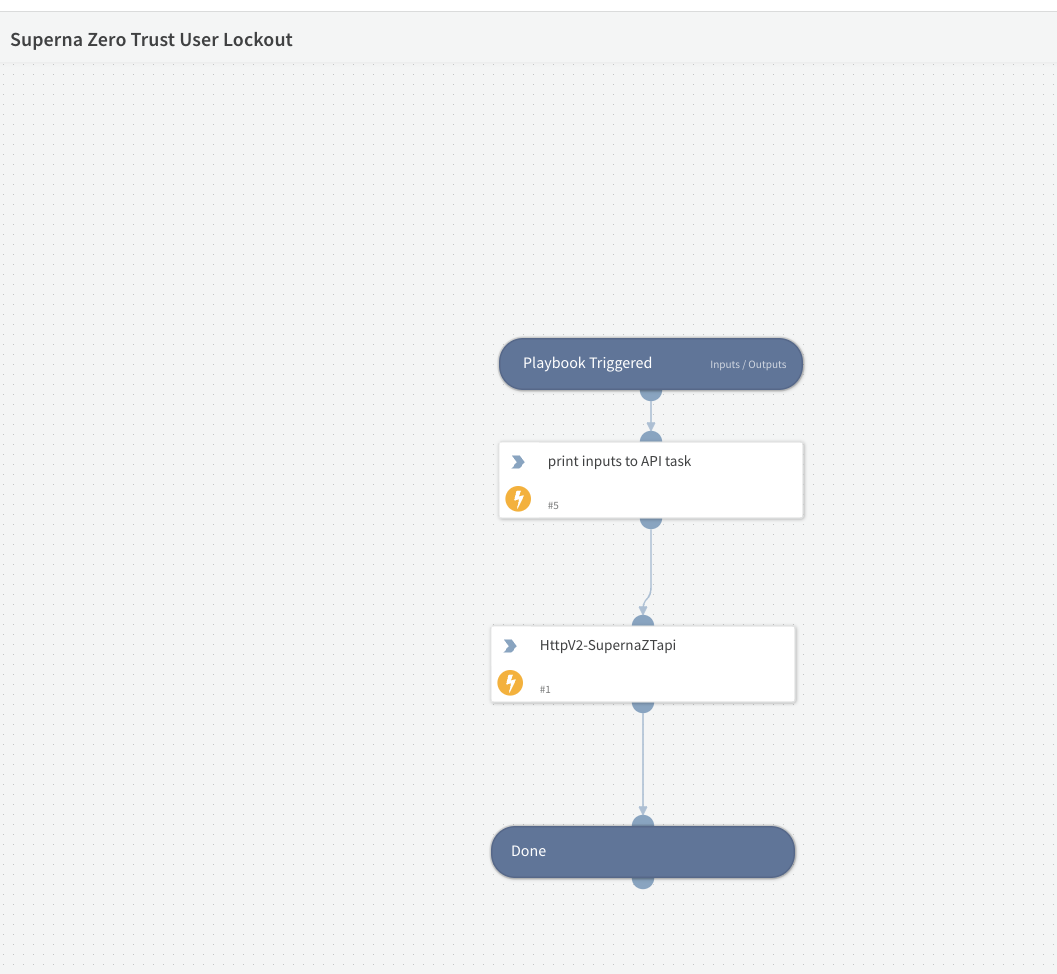
- Click the Edit Playbook button
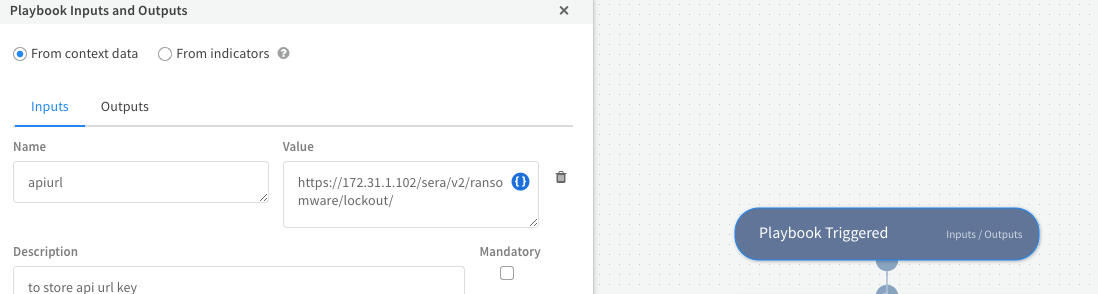
- Now click the Playbook Triggered code block
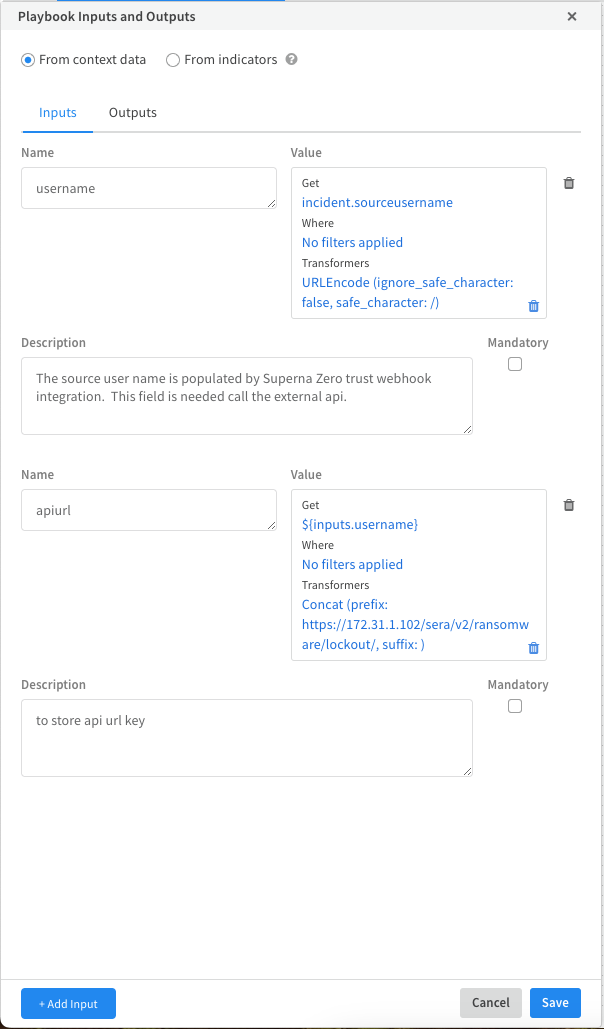
- The url will be visible in the apiurl key, click this to open the editor.
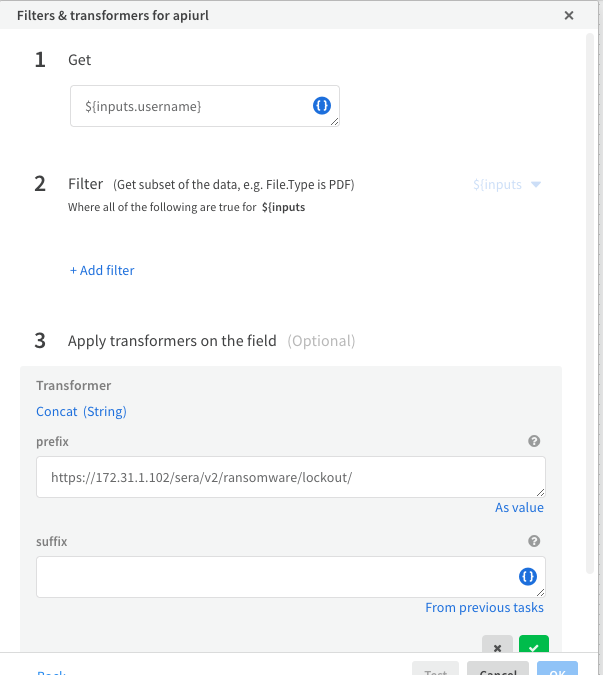
- Edit the ip address and change to the hostname or ip address of your eyeglass VM.
- Click the green check mark and then click ok
- Then click save for this code block.
- Now click the httpv2 code block
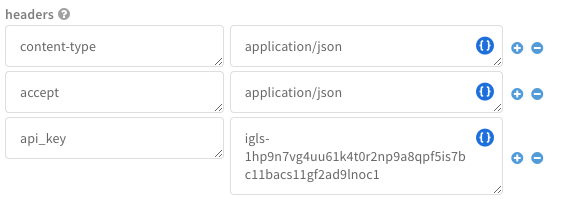
- Replace the api token with a valid token from your Eyeglass deployment.
- Now click the save playbook.
- Done.
- To test your playbook, assuming the alert integration is already completed. Follow these steps.
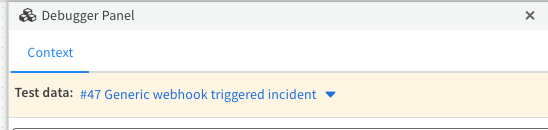
- Click the Debugger Panel
- Make sure you have a test incident created by the Superna Zero Trust API integration with Cortex that contains the custom incident field for the userID.
- Set the test data to use one of the webhook triggers.
- Click the Run button
- A successful execution will show green code blocks and expanding the debugger data to show the http response code should show an http 201 indicating the lockout job was started successfully.
- done.
Configure the Request User Storage Lockout or Unlock Playbook
- Overview:
- This playbook prompts for a user name and can be used with any 3rd party playbook or workflow that requires Cyber Storage user lockout services.
- Syntax for user id domain\username or user@domainname
- The unlock playbook option allows the same inputs with unlock workflow. Make the same modifications to this playbook as defined below to enable the unlock playbook configuration.
- Follow the steps below to configure.

- Click Edit playbook button
- Click the Playbook Triggered code block and edit the ip address to a hostname or ip address specific to your environment. This ip address is the Eyeglass VM. Click save once done.
- Click the httpv2 code block
- Edit the http headers section to input the api token created from the prerequisites.
- Click save
- How to test your playbook. Click the Debugger panel, select playground for Test data. Click run.
- Enter a userid example domain\userid or user@domain name
- Verify the code blocks all show green and expand the http response section and look for http response code of 201.
- Done.
Use Cases for these playbooks
- Snapshot PlayBook
- You can run this playbook for any incident where data security is at risk and an immutable snapshot is needed to protect critical data. The snapshot can be used to recover data and Cyber Storage analytics from Security Edition can detect malicious data activity and log file access. This is necessary to root cause what data was affected by a security incident.
- User Lockout Playbook
- You can run this playbook for any Superna Zero trust created alerts, as this playbook depends on the customer userID field to exists in the incident. If lockout mode in Superna Security Edition is not enabled allowing Secops to decide when a user lockout should occur. This moves the responsibility of data protection decisions to the Secops team versus the storage team.
- User Request Storage Lockout Playbook
- Offers an input question to accept the userID that should be locked out of storage. This playbook can be run by any Secops workflow where the threat to data is increased and a proactive step to ensure no data can be destroyed or it can be used as a step in a workflow when employees are leaving the company or have been terminated.
- User Request Storage Unlock for a user Playbook
- Offers an input question to accept the userID that should be unlocked from the storage. This playbook can be run by any Secops workflow to allow a user that was previously locked out to have the lockout removed.