Eyeglass Administration guides Publication
How to Enable DR Test Mode
Home
- Deprecated Feature - No longer supported as of 2.5.8
- How to Enable DR Test Mode
- Open the DR assistant (< 2.5.6 releases)
- Open DR Assistant ( 2.5.6 or later Releases)
- To Exit DR Test mode (All Releases)
Deprecated Feature - No longer supported as of 2.5.8
New Features
In 2.5.6 option exists to skip config sync during enable in the GUI and the API. The api now supports enable and disable action.
Concurrent execution of 3 policies at a time has been tested and requires the configuration sync option to be disabled in the GUI or API to run concurrent DR Tests.
How to Enable DR Test Mode
Once DR Test mode is enabled from the DR Assistant icon, the Access Zone data in the DR Test Access Zone becomes writable and available for testing. The feature will make a final sync to ensure a recent copy is available for testing. The configuration is also synced to ensure it’s a close mirror of the production configuration.
- Eyeglass will detect the DR test policies based on the prefix name of “Eyeglass-DR-Testing” prefix, and place this policy on the DR Assistant DR Testing tab.

- The configuration data is also synced to the Access Zone created above during normal configuration sync jobs. See the section example in the Jobs window:
- Configuration Synced:
- The configuration data is now synced from the DR cluster SyncIQ path used as the source (which is a mirror of the production Access Zone path configuration data).
- All configuration data that matches the SOURCE path used on the DR testing policy, is now created in the new Access Zone detected as the path of the DR Testing policy.
- If a subset of the DR data is needed for testing, then a subset of the data and config can be synced by building a policy with different source paths.
- To enable write access with DR test mode read the notes below:
- IMPORTANT: For the case where Eyeglass-DR -Testing SyncIQ Policy Source Path is the same as the production SyncIQ Policy Target Path:
- DO NOT enable DR Test Mode while the production SyncIQ policy is in a running state, OR allow this policy to run during a DR test. We recommend daily schedule or set to manual on the DR test procedure day. The Eyeglass-DR-Testing policy which starts running at the same time as the production SyncIQ policy is already running will result in Sync Job failure.
- NOTE: < 2.5.6 releases configuration sync is started for each DR test policy execution, this cannot be disabled and a single DR test mode policy should be enabled at a time.
- NOTE: < 2.5.6 releases If you have more than one DR test mode policy only enable one at a time. Concurrent DR Test mode is not supported.
- NOTE: for 2.5.6 or later releases a GUI option exists to turn off data sync and config sync steps before starting a DR test mode policy. Up to 3 policies have been tested to execute at the same time only if the config sync option is unchecked.
- NOTE: 2.5.6 or later supports API enable and disable of DR test mode policies to be used with scripts or any REST API application. See Eyeglass API documentation here.
- IMPORTANT: For the case where Eyeglass-DR -Testing SyncIQ Policy Source Path is the same as the production SyncIQ Policy Target Path:
Open the DR assistant (< 2.5.6 releases)
- Select LiveOPS DR Testing Tab.
- Select the policy you want to enable for testing.
- Select a bulk action -> Make Target Writable.
- Goto Running Jobs window to monitor completion of the DR test enabled job. A Job for “Enable DR test mode” is created that can be viewed from the running jobs window.
- Once data and config is fully in Synced:
- DR Test mode is enabled.
- DR Testing can now begin.
Open DR Assistant ( 2.5.6 or later Releases)
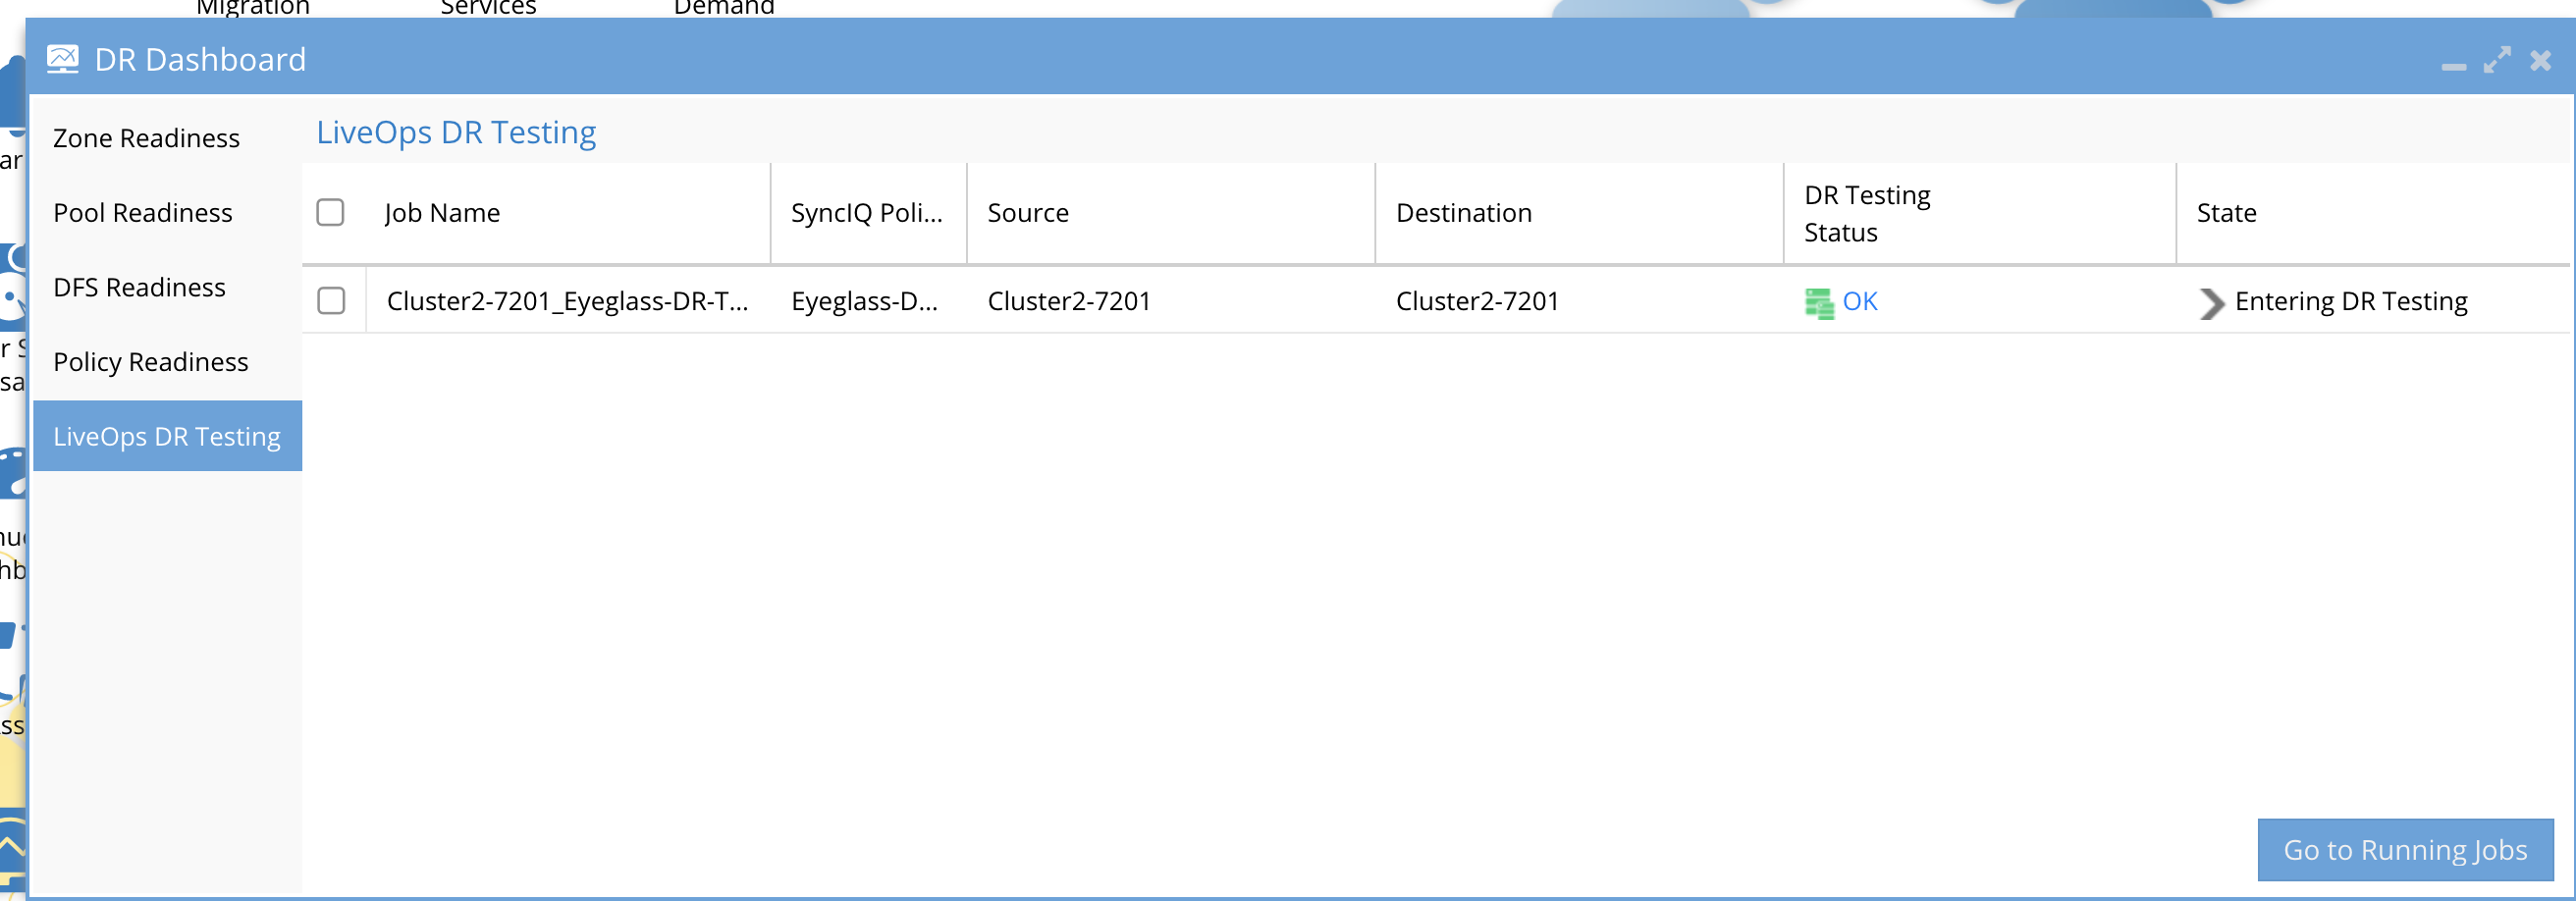
- Select LiveOPS DR Testing Tab.
- Select 1 or more policies (up to 3 maximum).
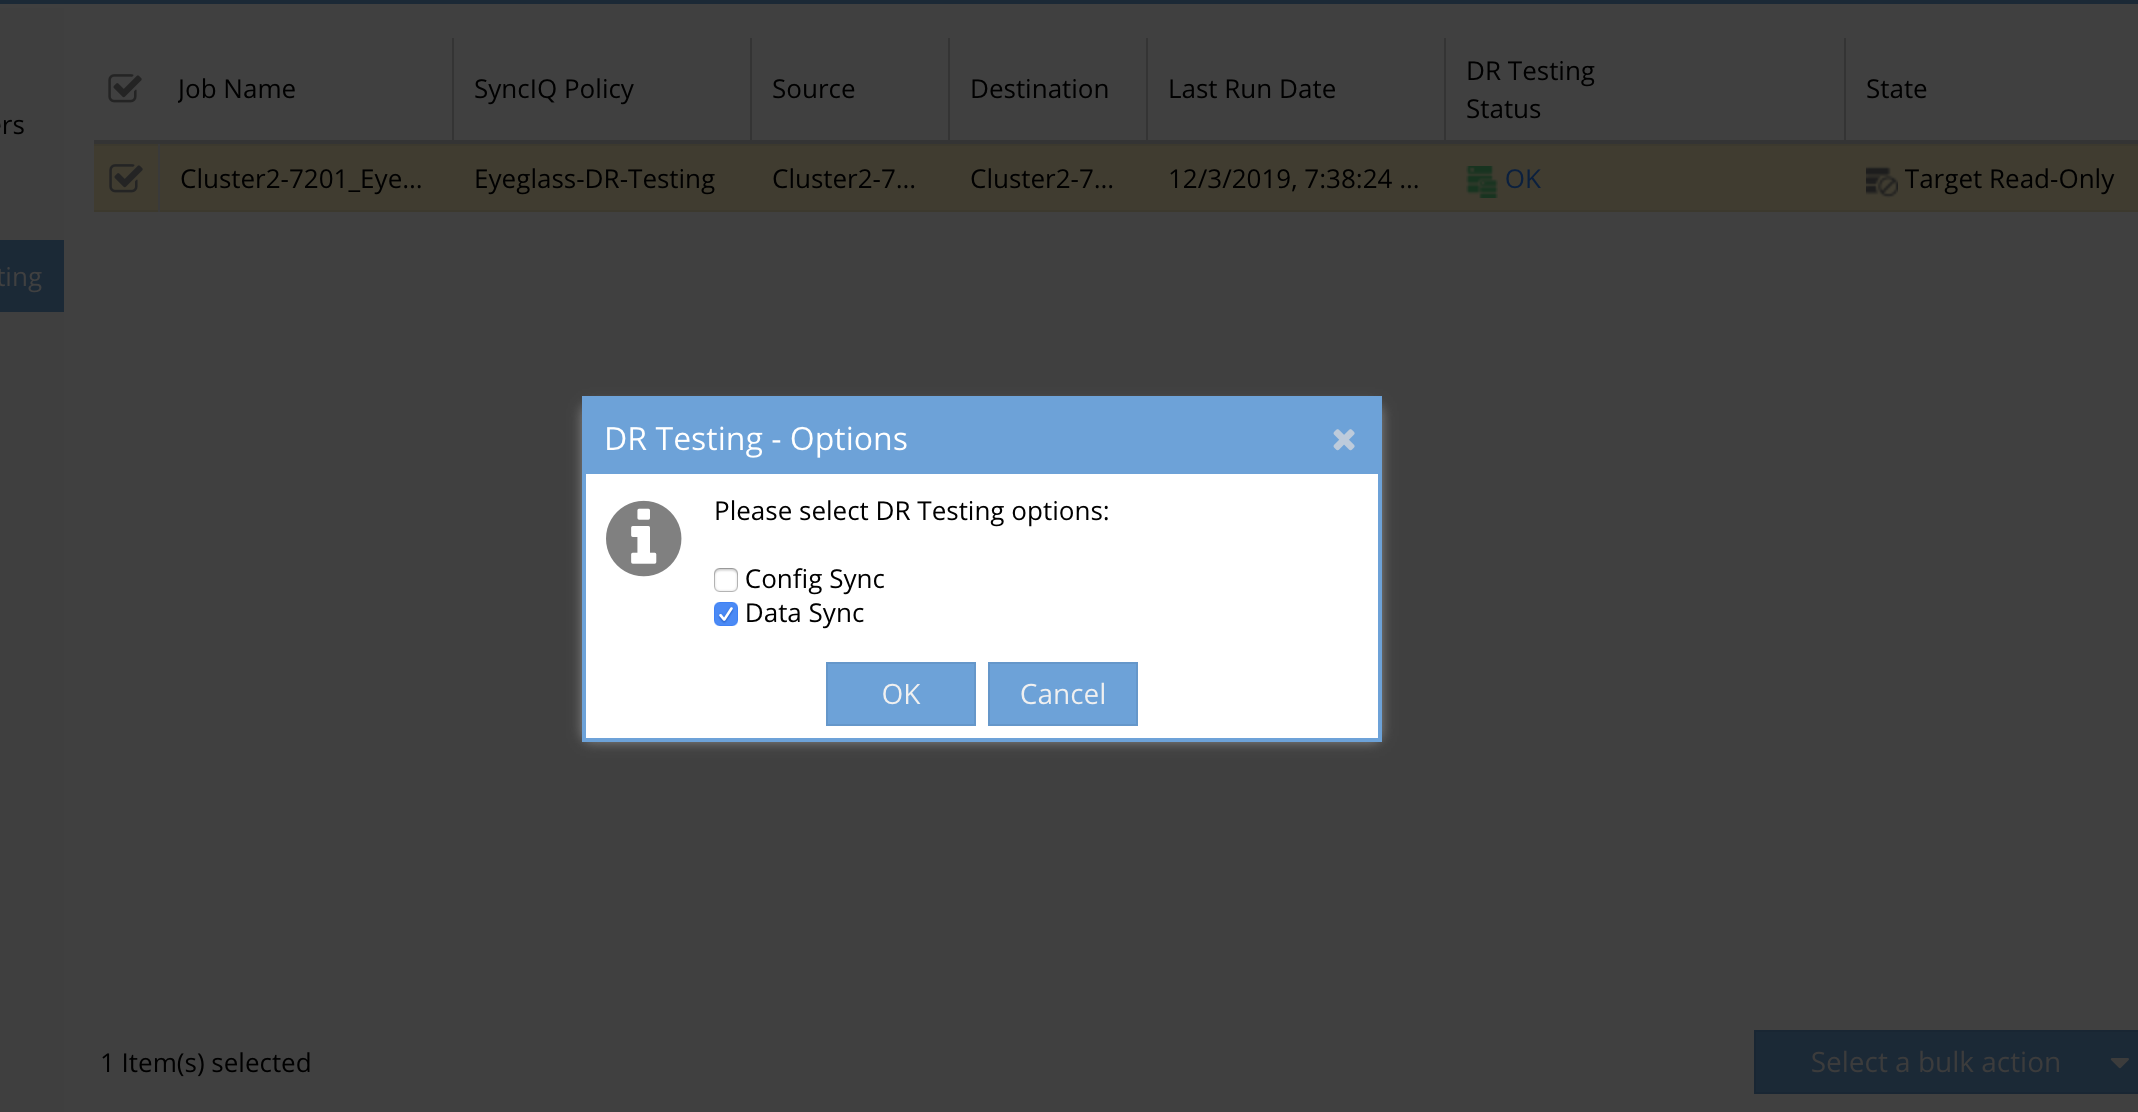
- Select Bulk Action --> Make Target Writable.
- NOTE: Config run option is disabled by default. Data sync can also be disabled to speed up the allow writes step.
- NOTE: If executing multiple concurrent DR tests on different policies config sync must be disabled, it is not supported to run concurrent DR tests without unchecking config sync option. This can also be done with the REST API from a curl script as well. See api guide.
- Monitor the DR Dashboard until it shows completed, or click running jobs to view each step.
- Once it has completed a popup window will appear show DR Test mode success message and how long it took to complete. Click on the DR Test mode job to view each step in the running jobs window.

- Once completed the DR Dashboard will show Write Enabled.

- Done

To Exit DR Test mode (All Releases)
- See next section here