Eyeglass All Product Installation and Upgrade Guides Publication
How to Migrate Eyeglass Search Appliance Index from ECA OpenSuse 15.1 to OpenSuse 15.3 OS
Home
- When to use this procedure
- Pre-Migrate steps
- High Level steps
- Detailed Steps
- Vmware Steps to move the index to the new appliance
- Power on New appliance
When to use this procedure
This procedure allow moving an index from an old appliance with 15.1 OS to a new appliance running opensuse 15.3. It will require VMware access to edit VM's and attach VMDK disk from the old appliance to the new appliance.
Pre-Migrate steps
- Clone the existing VM to protect the index in case a roll back is required or backup the VM with vmware backup tools.
- NOTE: No snapshots can exist on the VM for roll back since the VMDK disks cannot be moved to another VM if snapshots exist.
- NOTE: if no backup has been completed and issues impact the index disk during migration the only method to revert requires a backup or clone of the VMDK. The other option is re-index the data using the new appliance vs backup or cloning the old appliance.
High Level steps
- deploy Superna Search appliance
- configure NFS mounts
- Create a backup of old appliance
- power on new vApp to make sure all nodes are up and reachable, power off
- remove without delete hard disk 2 from old vApp node 1-N
- remove/delete hard disk 2 on node1-4 of new vApp and add removed hard disks from old vApp to new vApp node 1-N
- power on new vApp
- copy zip to new vApp and restore configuration from backup
Detailed Steps
- Create Search Cluster backup on old appliance:
- SSH to ECA node 1 as user: ecaadmin
- Type command: ecactl cluster backup
- Follow the procedure named Backup and Restore to retrieve this backup file. Find the section on how to retrieve the backup file on this link.
- Create logs folder under /opt/data/superna on all ECA nodes
- cd /opt/data/superna
- mkdir logs
- chmod 775 logs
- Repeat the above steps on all ECA nodes
- Bring down old ECA cluster
- SSH to ECA node 1 as user: ecaadmin
- Type command: ecactl cluster down
- Using vCenter UI, power off the vApp
- Download new Eyeglass Search OVF based on OpenSuse 15.3 and deploy these vApp, as per documented install procedure
- Configure the new Eyeglass Search vApp to have the same configuration as the old Eyeglass Search vApp. Assign the following when deploying new vApp
- Same ECA cluster name
- Same IP Addresses for ECA nodes
- Once the deployment of new vApp has been completed, power on this new vApp and then
- SSH to this new ECA node 1 as user ecaadmin
- Type command: ecactl components configure-nodes
- Edit the Search Cluster backup zip file (Open this zip file by using zip tool utility e.g. 7-zip) to remove known_host file from each node folders in that backup zip file, under path /<node-x>/home/ecaadmin/.ssh/
- Copy the updated Search cluster backup zip file to this new ECA node 1. Use WinSCP
- Restore from the backup use command: ecactl cluster restore --path <path-to-copied-backup-file>
- Once restore has completed, create local directory on ECA node 2 - last node for mounting PowerScale Snapshot NFS export (Only If require Content Ingestion)
- ssh to ECA node 1 as user ecaadmin
- sudo su -
- mkdir -p /opt/superna/mnt/search/<GUID-of-PowerScale-Cluster>/<Cluster-name>
- Repeat the above steps for ECA node 3 - last node
- Modify file /etc/fstab on ECA node 2 - ECA last node.
- Open the copied fstab file from old ECA node 2 and copy the mount to the PowerScale Snapshot folder setting line and insert this into the fstab file on new ECA node 2 - last node
- On each node (Node 2 - last node) complete these steps:
- ssh ecaadmin@x.x.x.x (ip of each eca node)
- sudo -s (enter ecaadmin password when prompted)
- nano /etc/fstab
- paste mount line into the file control+x to save and exit
- Test the mount in fstab on the node
- NOTE: you should still be the root user from above steps
- type command --> mount -a
- if no mount error you should not see any output from this command
- Check mount and type --> mount [enter]
- Review the output to make sure the mount is visible
- Repeat all steps above on ECA node 2 - last node
- done
Vmware Steps to move the index to the new appliance
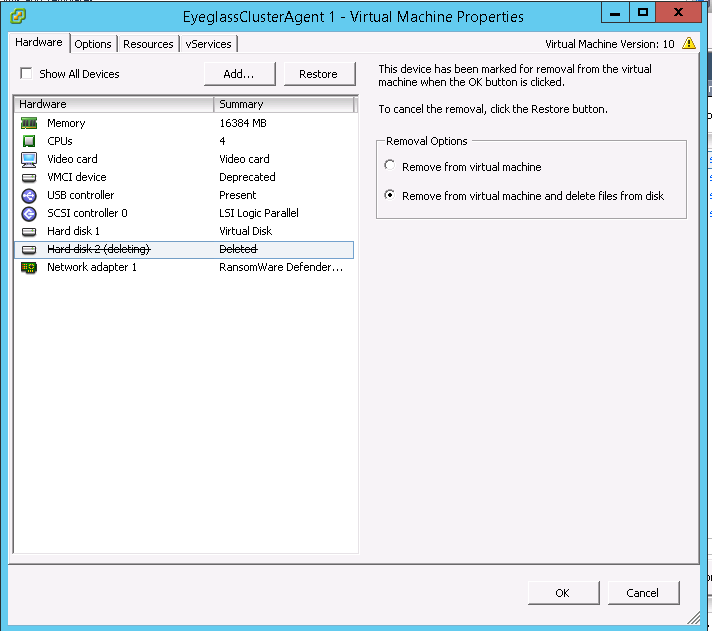
- Edit the setting of the new ECA VM node 1 (Warning: Do this on the new ECA vApp VMs, do not do this step on the old ECA vApp VMs), and remove Hard Disk 2 with option “Remove from virtual machine and delete files from disk”. Example:
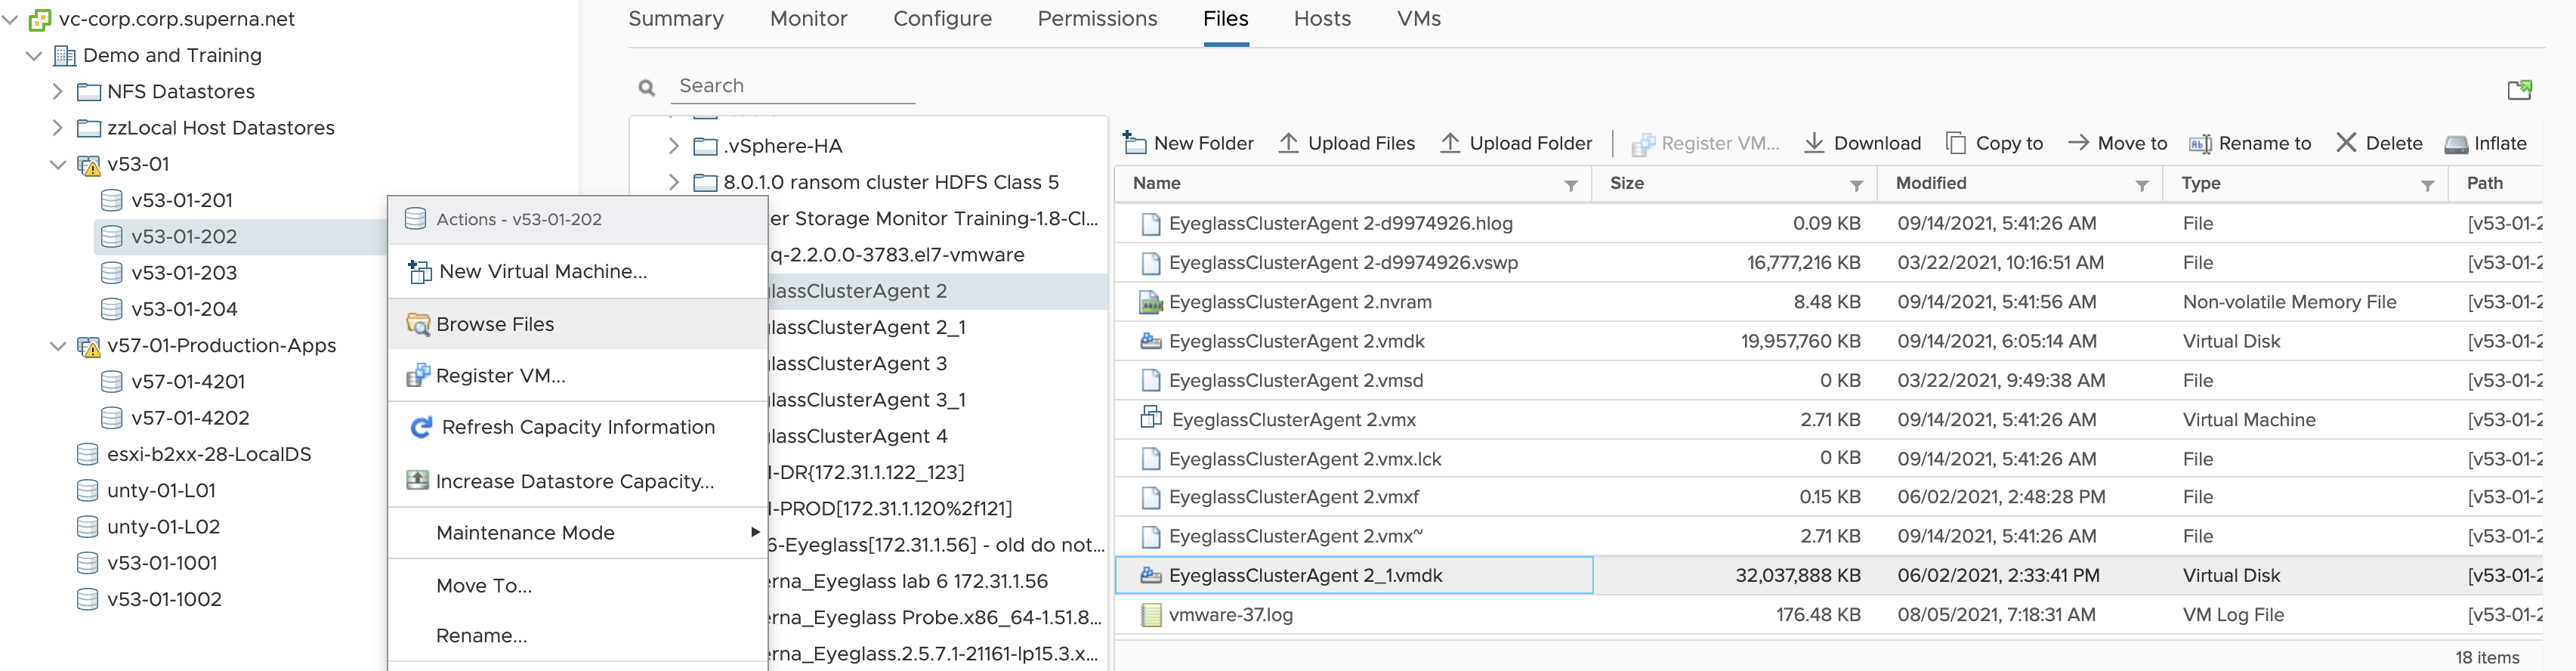
- Edit the setting of the old ECA VM node 1 (Now do this step on the old ECA vApp VMs) and record the Datastore Disk File location for Hard Disk 2 and then remove only from VM inventory (Warning: Only remove from VM, but do not delete files from disk). Chose: “Remove from virtual Machine”. Example:
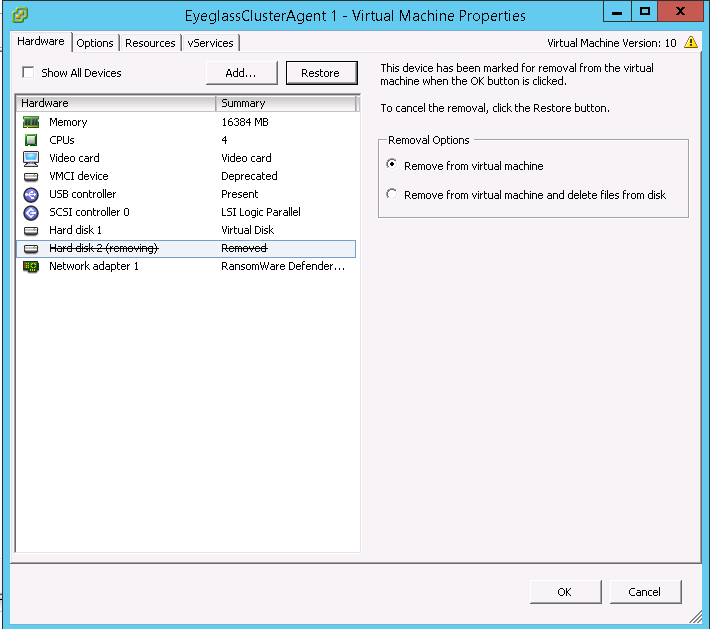
- IMPORTANT STEP: Record the location of the VMDK disk on the datastore and record this path and for use in a later step. NOTE: Record the full path in the data store to the disk for this VM, you will need this exact path to the vmdk disk to attach to the new appliance VM disk.
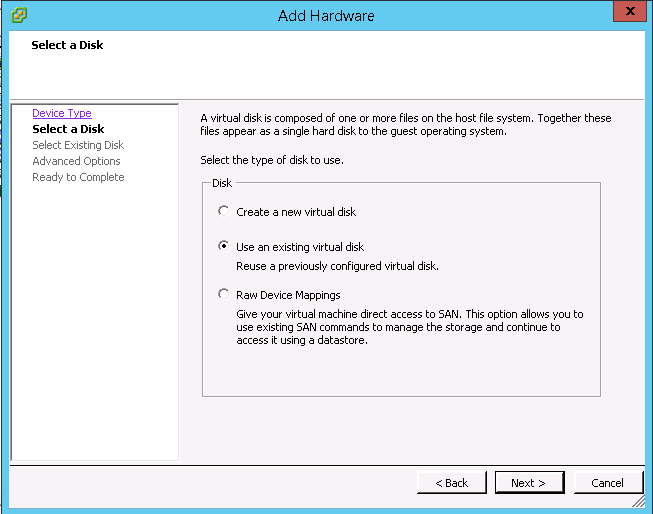
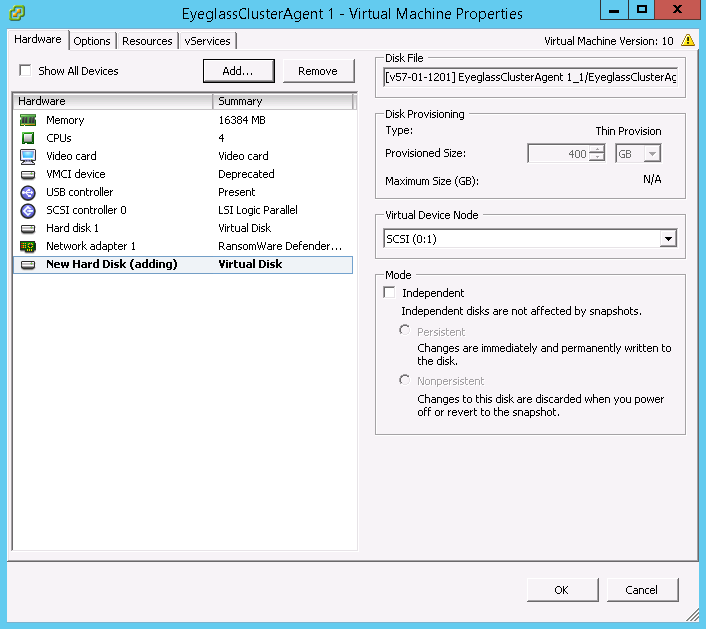
- Re-add that 2nd disk from old ECA VM 1 to the correspondent new ECA VM 1. NOTE: You must use the VMDK using the location in the datastore from the step above, where the path to this 2nd disk was recorded. Click Add
-
-
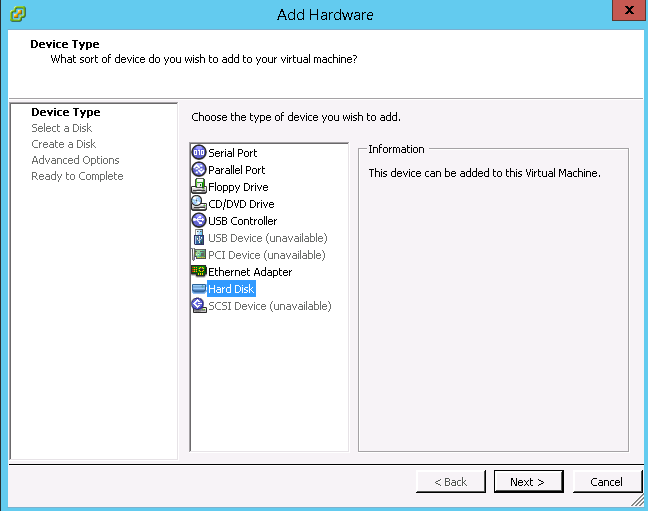
- Select “Use an existing virtual disk”
-
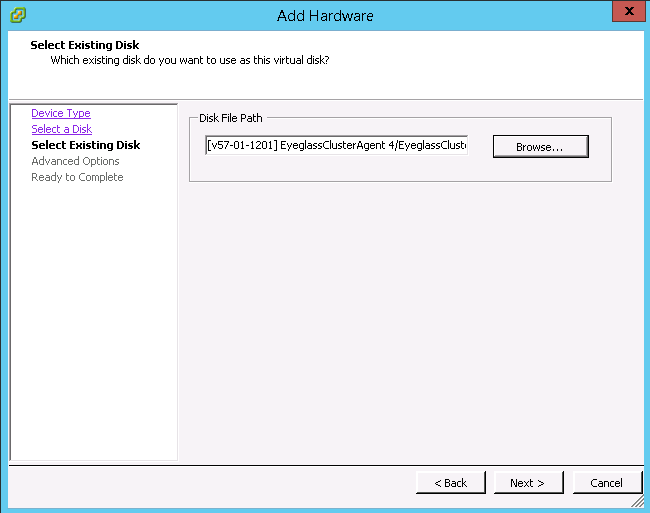
- Specify the correct Disk File Path (Warning: Do not choose wrong disk) , use the path to the datastore and folder and vmdk recorded from the step above.
-
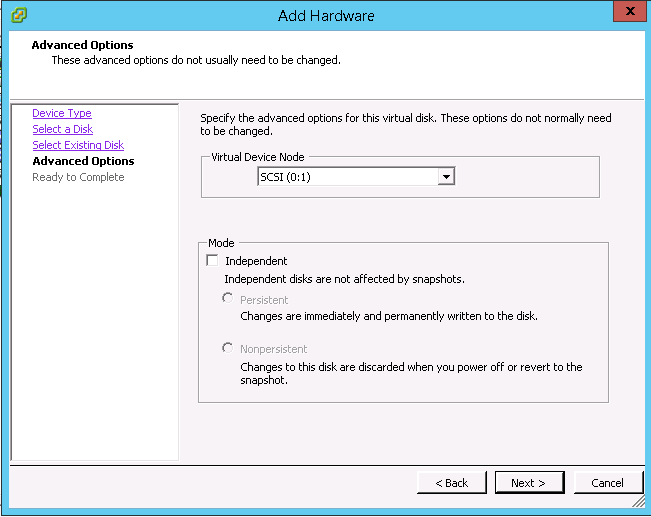
- Accept the default advanced options and click “Next”
-
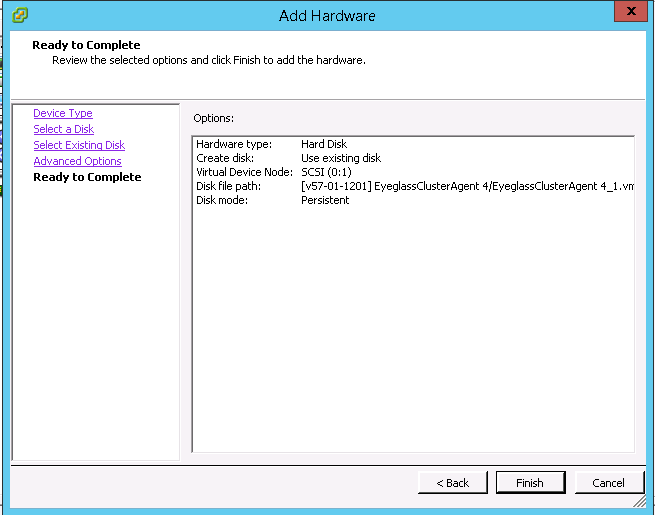
- Click “Finish”
-
-
- IMPORTANT STEP: Repeat the 2nd disk VMDK migration from the old appliance to the new appliance VM's for all remaining ECA VM's
- Mandatory Step: Take a vmware level snapshot of all search nodes before proceeding to the next steps. This is the only way to roll back if any issues block the upgrade.
- Upgrade to the latest code
- copy upgrade file to node 1
- chmod 777 <upgrade file>
- ./<upgrade file>
- Done
Power on New appliance
- SSH to ECA node 1 as ecaadmin
- Ping each ip address in the cluster until each VM responds. NOTE: Do not continue if you cannot ping each VM in the cluster.
- From ECA node 1: ecactl cluster up
- Verify that new ECA can be brought up successfully
- Verify Search license: searchctl licenses list
- Verify registered PowerScale cluster: searchctl PowerScales list
- Verify configured folder: searchctl folders list
- Verify from Eyeglass Search UI https://<eca-node1-ip> that able to login and search the existing data.
- Add new data and once the next incremental ingestion and commit has been completed, verify from Eyeglass Search UI.
- Done
© Superna Inc