Eyeglass All Product Installation and Upgrade Guides Publication
Eyeglass Hyper-V Installation Guide
Home
© Superna Inc
- Tested on
- Important Read
- Create Eyeglass Hyper-V Virtual Machine
- Configure Eyeglass data disk
- Configuration of Eyeglass Post Boot
Tested on
Important Read
- Eyeglass appliance uses 2 disks. 1 for OS and 1 for data
- OS disk requires 20 GB [default disk]
- Data disk requires 120 GB [read below on how to create]
Create Eyeglass Hyper-V Virtual Machine
- Download vhdx from https://support.superna.net portal
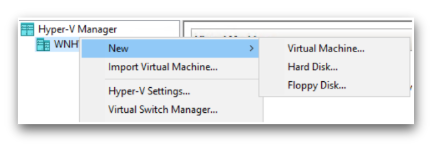
- Deploy a new `Virtual Machine`
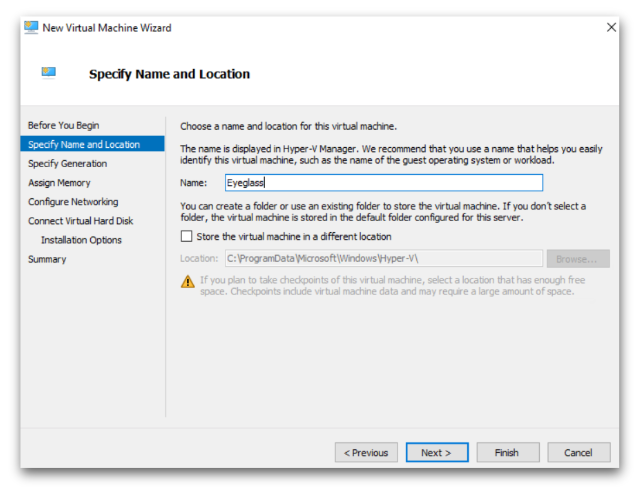
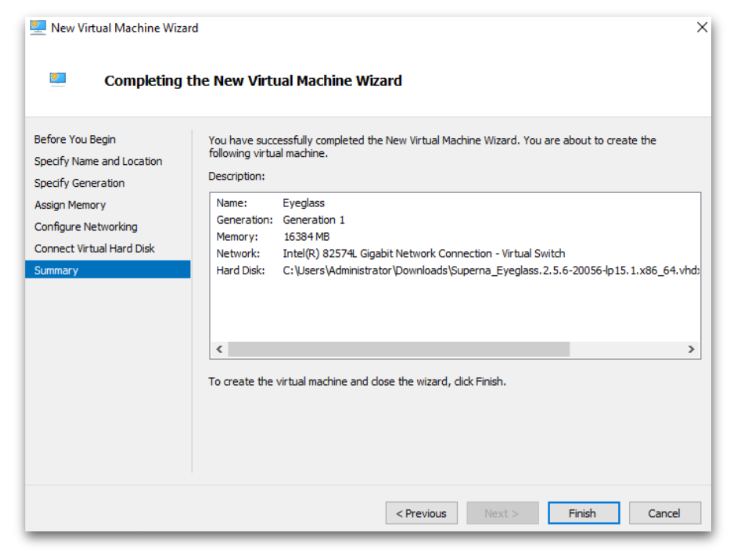
- Enter `Name` for the VM
- Check `Generation 1`

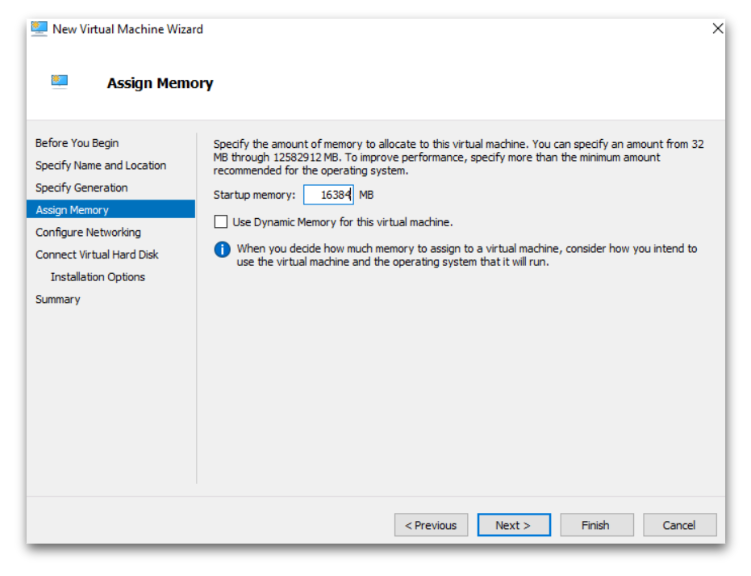
- Startup memory 16384 MB [24 GB]
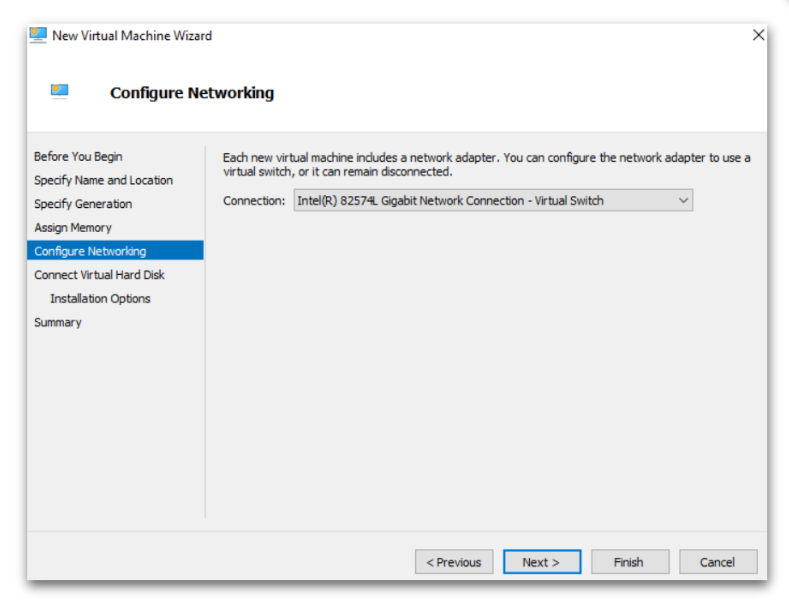
- Select `Network Adapter`
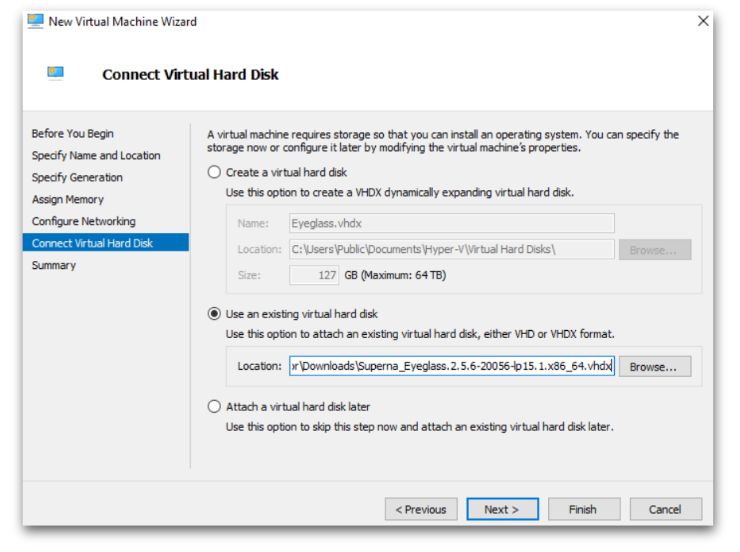
- Use an existing `Virtual Hard disk` → Browse to newly downloaded Eyeglass `vhdx` file
- Complete the Wizard
Configure Eyeglass data disk
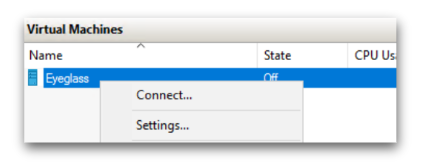
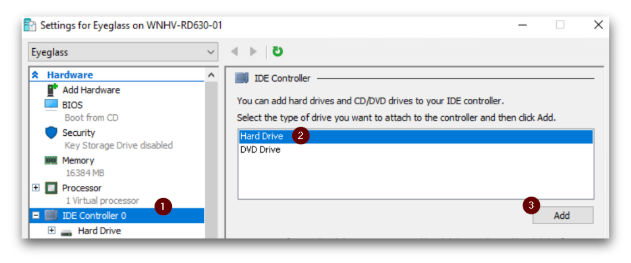
- After deploying, go to the new VM → Right Click → Settings
- From `IDE Controller 0` → Add a `Hard Drive`
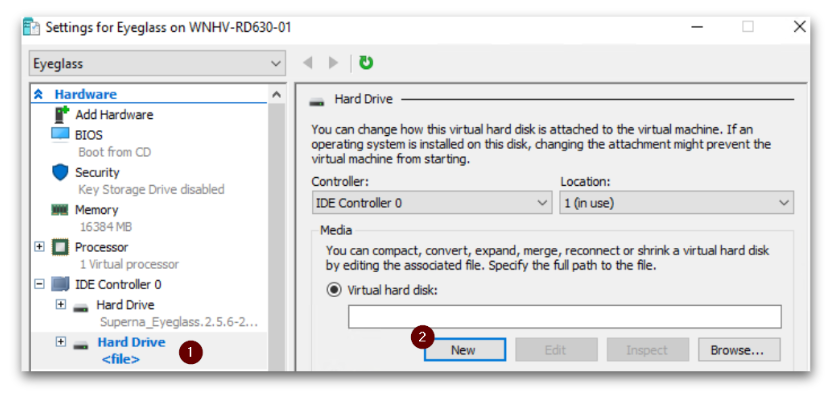
- Create New
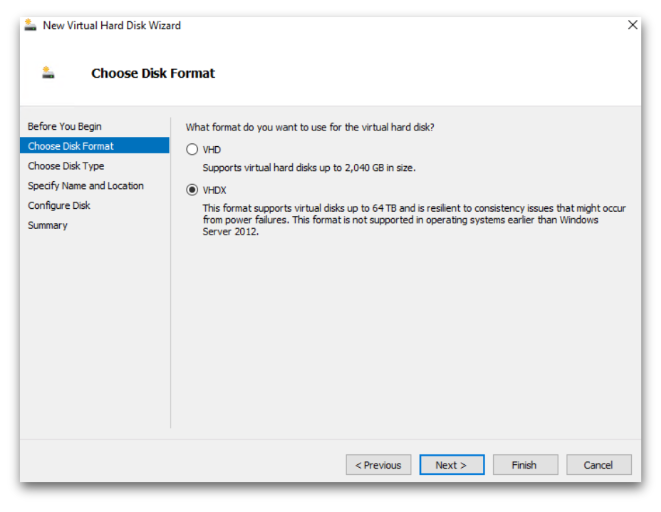
- Choose Disk Format → `VHDX`
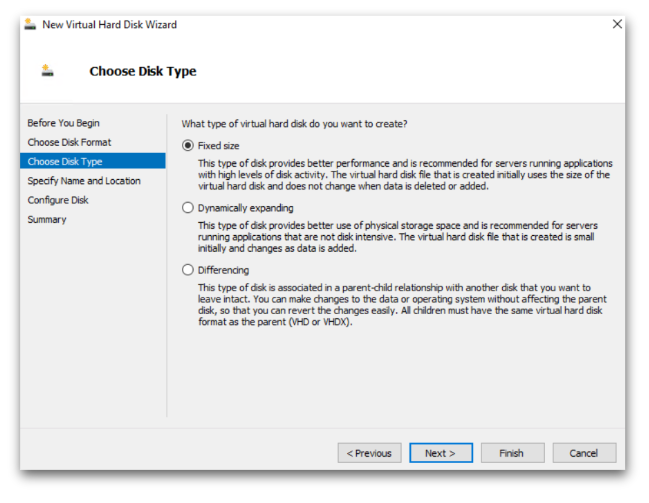
- Choose Disk Type → `Fixed size`
- Name the data disk
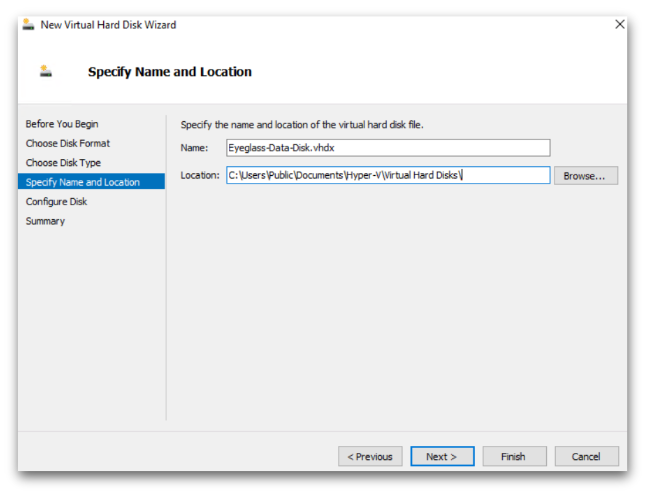
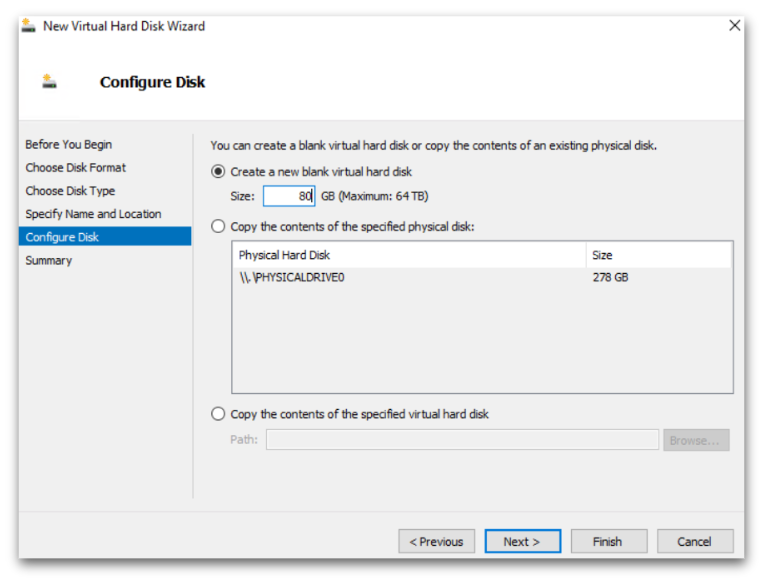
- Create a new blank virtual hard disk : 80 GB
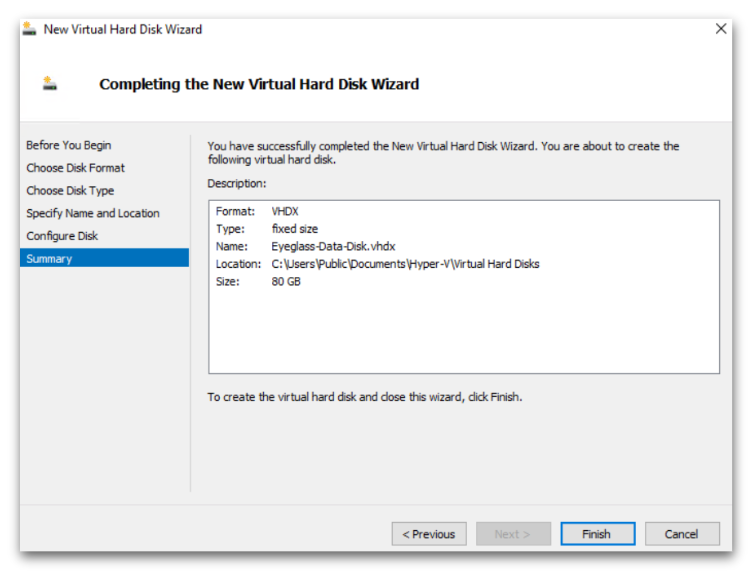
- Complete the data disk Wizard
Configuration of Eyeglass Post Boot
- After booting the Eyeglass VM, populate Eyeglass local OVF environment file with the networking/host/disk information:
- Note: Please change all IP addresses and Masks that are requested to match the proposed Eyeglass environment. Disk_size remains the same.
- Note: Second HDD of size 80GB must be added prior to completing the remaining steps.
- sudo su
- /opt/superna/bin/ovf set-value --force net.eth0.ipv4.ip=x.x.x.x
- /opt/superna/bin/ovf set-value --force disk_size=80
- /opt/superna/bin/ovf set-value --force net.eth0.ipv4.gateway=x.x.x.x
- /opt/superna/bin/ovf set-value --force net.eth0.ipv4.netmask=255.255.255.0
- /opt/superna/bin/ovf set-value --force net.nameservers=x.x.x.x
- /opt/superna/bin/ovf set-value --force net.ntp=x.x.x.x
- /opt/superna/bin/ovf set-value --force net.searchlist=example.lan
- /opt/superna/bin/ovf set-value --force vm.hostname=eyeglass
- Ensure the .firstboot file exists and run the firstboot service.
- ls -l /opt/superna | grep .firstboot
- Your output should look similar to the below output:
- ls -al /opt/superna | grep .firstboot
- -rw-r--r-- 1 sca users 0 Sep 10 15:38 .firstboot
- If firstboot file does NOT exist, recreate it and set permissions:
- sudo su
- touch /opt/superna/.firstboot
- chown sca:users /opt/superna/.firstboot
- Once the above is completed, restart the onboot service:
- systemctl restart superna-on-boot
- This operation should return the CLI prompt within 30 seconds.
- Review the firstboot log file for any errors/exceptions that lead to failure:
- cat /var/log/superna-on-boot.log
- If firstboot succeeds, it should state that HyperV is used and that remaining operations should be completed with spy-hyperv-setup command:
- sudo su
- spy-hyperv-setup
- Complete the HyperV Setup by entering the requested variables. Once completed, no further setup steps are required.
- Login to the Eyeglass VM with https://x.x.x.x
- Continue with Install guide steps related to NTP, licensing etc..
© Superna Inc