Dell Apex Metering Software Integration with Eyeglass Enterprise Airgap
- Overview
- Requirements
- Configuration
- Eyeglass Enterprise Airgap
- UCC Edge VM Deployment
- Register the Vault PowerScale to Assets
- Add the Vault PowerScale to Group
- Configure Schedule
- Configure SFTP for uploads
- Upload from UCC Edge to Eyeglass Vault Agent through SFTP
- Receiving the Log File on the Eyeglass Appliance
- Requirements:
- Push billing collection data to eyeglass
- Configuring the UCC Local Agent tool to transfer billing data to Dell from a Windows machine
Overview
Follow these steps to integrate the Dell APEX metering software into a Cyber Vault. This solution seamlessly allows metering data to be securely transported from inside the vault to a secure location outside the vault, where the data can be collected and sent to Dell for billing. This is the only solution that enables in-band management without any data diodes or expensive out of band management. You are welcome :).
Requirements
- Dell EMC UCC Edge
- Eyeglass Enterprise Airgap
Configuration
Eyeglass Enterprise Airgap
- Deploy and configure Eyeglass, ECA, and Vault Agent for Airgap, including Enterprise Airgap license. Refer to Enterprise Airgap configuration guide
- Configure Airgap job to be managed by Vault Agent
- Modified directory permission on Vault Agent for the path: /opt/superna/var/logs/vaultagent to allow ecaadmin to have write permission
- SSH to Vault Agent as ecaadmin (default password: 3y3gl4ss)
- chmod 777 /opt/superna/var/logs/vaultagent
- For verification, we can upload a test file to Vault Agent by using SFTP with ecaadmin user to the path : /opt/superna/var/logs/vaultagent
UCC Edge VM Deployment
Deploy UCC Edge VM from the downloaded ucc-edge_2.1.0.ova file in the vSphere environment inside the vault network.
References:
https://www.dell.com/support/home/en-ca/product-support/product/ucc-edge/docs
UCC-2.1.0-Metering:-Overview-and-Requirements - https://dl.dell.com/content/manual42021432-ucc-2-1-0-metering-overview-and-requirements.pdf?language=en-us
UCC-Edge-2.1.0---Getting-Started-Guide - https://dl.dell.com/content/manual41414539-ucc-edge-2-1-0-getting-started-guide.pdf?language=en-us
Register the Vault PowerScale to Assets
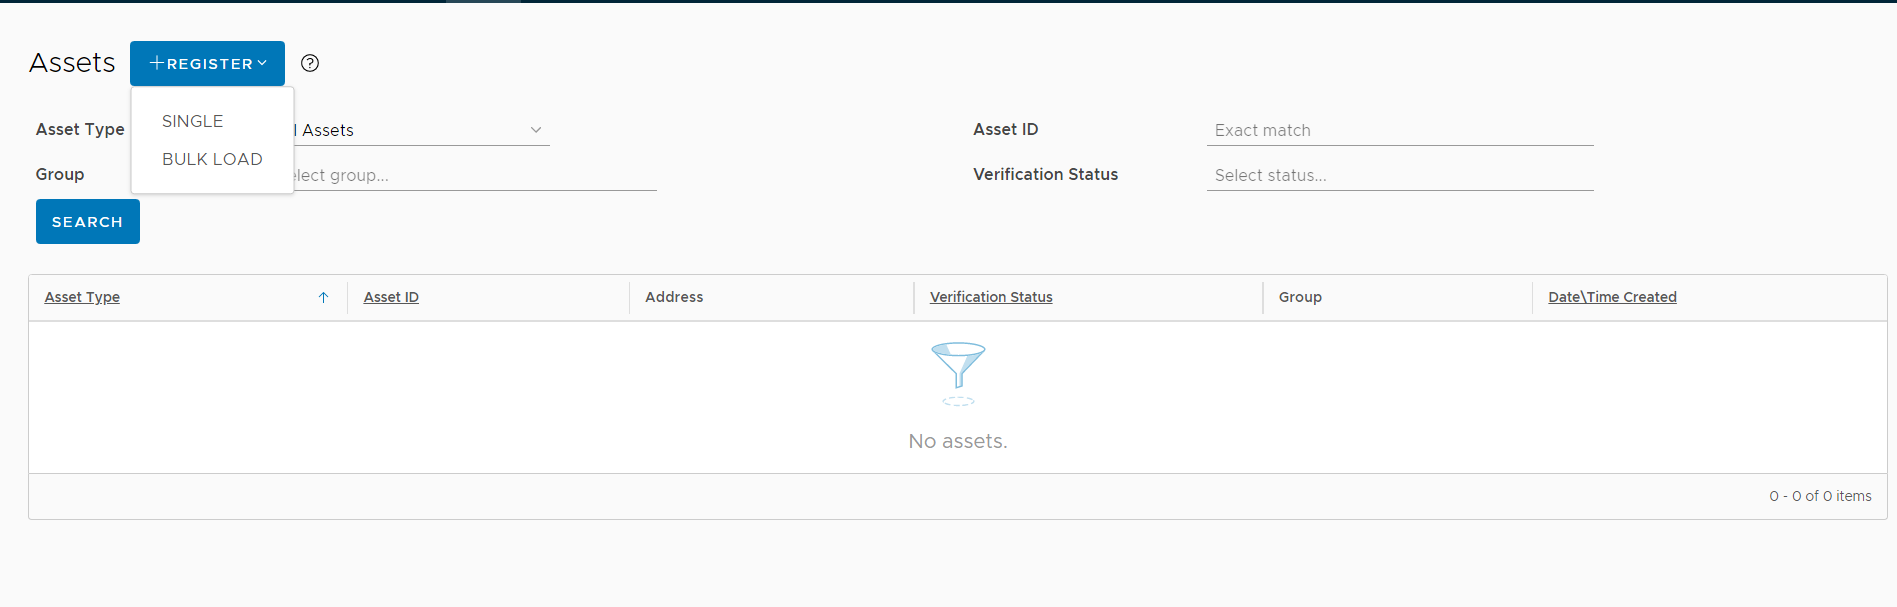
To register the Vault PowerScale to UCC Edge Assets, click the Assets button

Then click ”+Register” button to register. We can use Single registration or bulk load
Register New Asset and set the Asset Type as PowerScale\Isilon
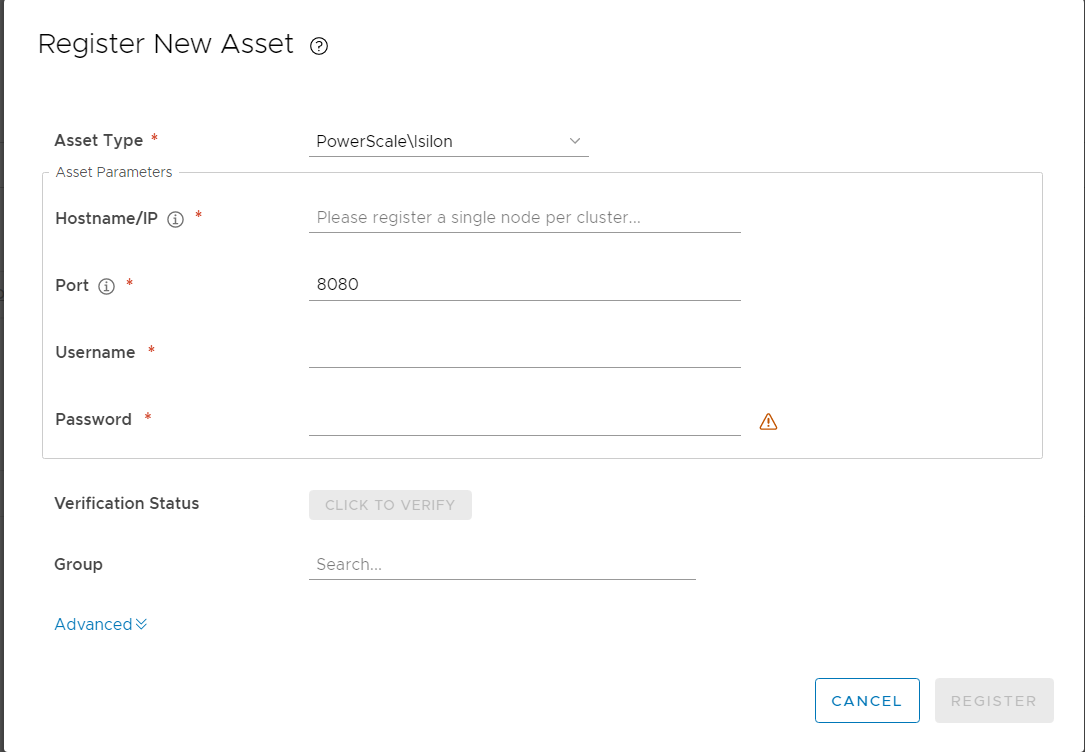
Once added the information for the Asset Parameter, click the “Click to verify” button to verify. Once verified it will display Verified_Success status

And click “Register” button to add into the assets list

Add the Vault PowerScale to Group
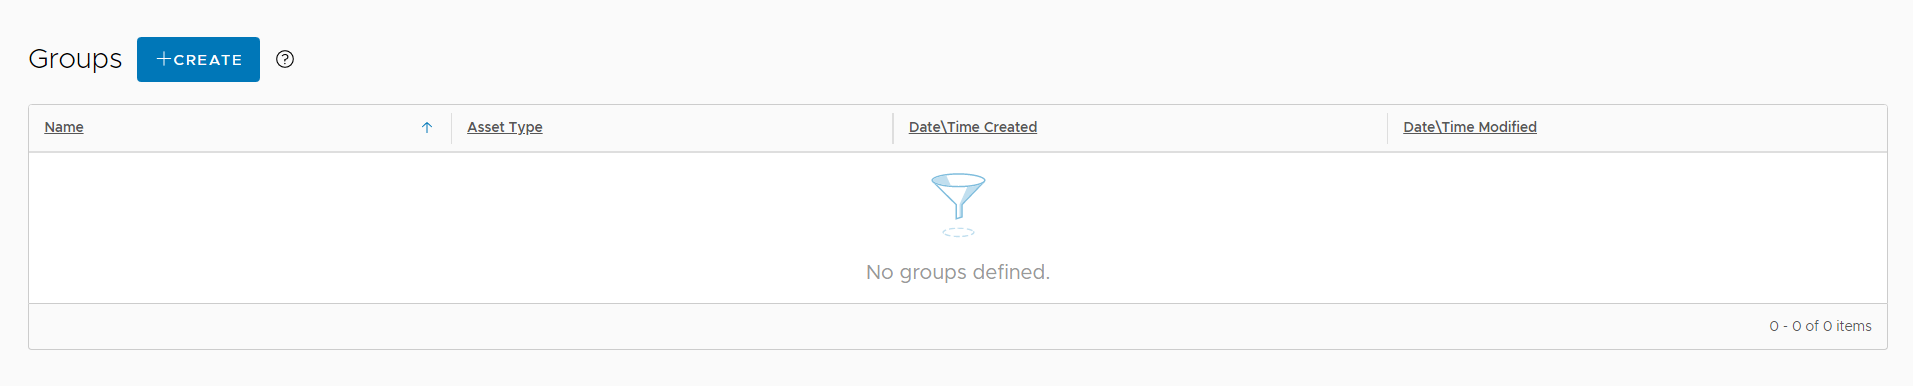
To add the Vault PowerScale cluster to UCC Edge, click the Groups button

Then click ”+create” button to create a new group
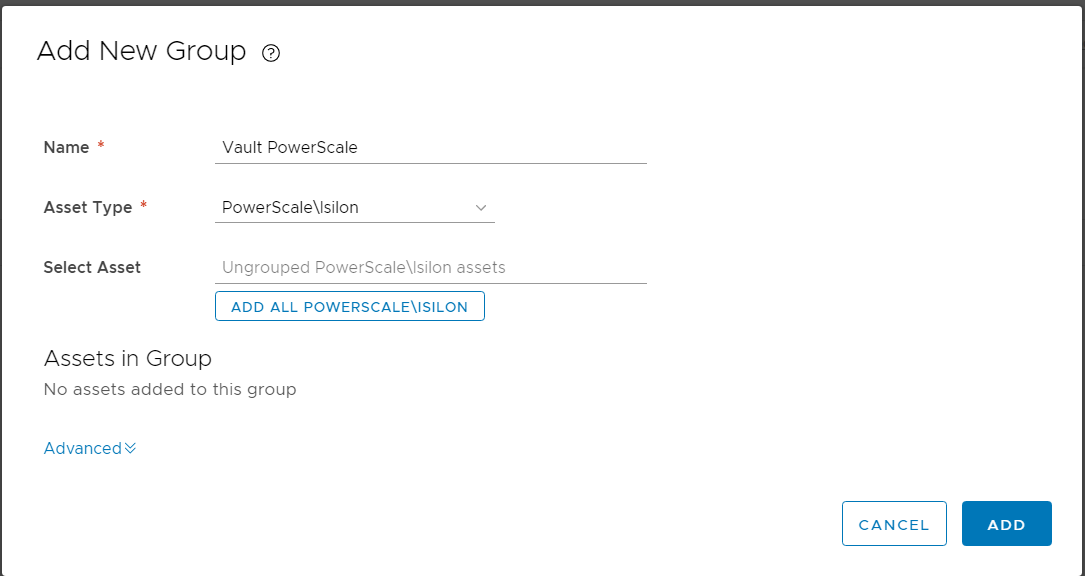
Specify the new Group name, asset type, and select asset to be added to this new group
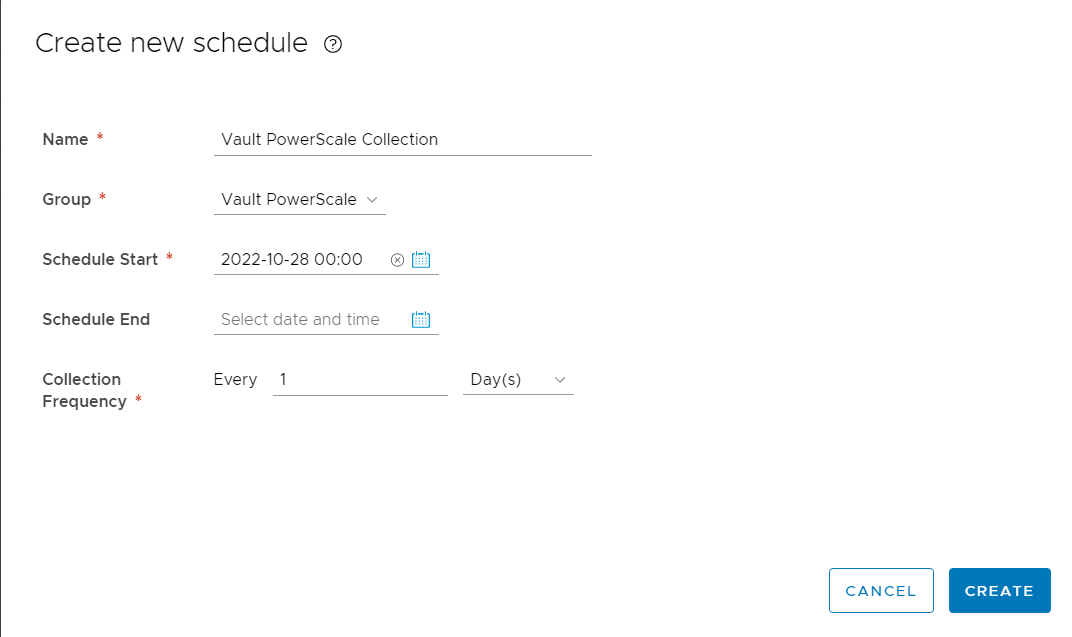
Configure Schedule
To schedule the collection from the Vault PowerScale cluster, click the Schedules button

And create the schedule by click the “+ schedule” button

Specify the schedule (e.g. once a day)
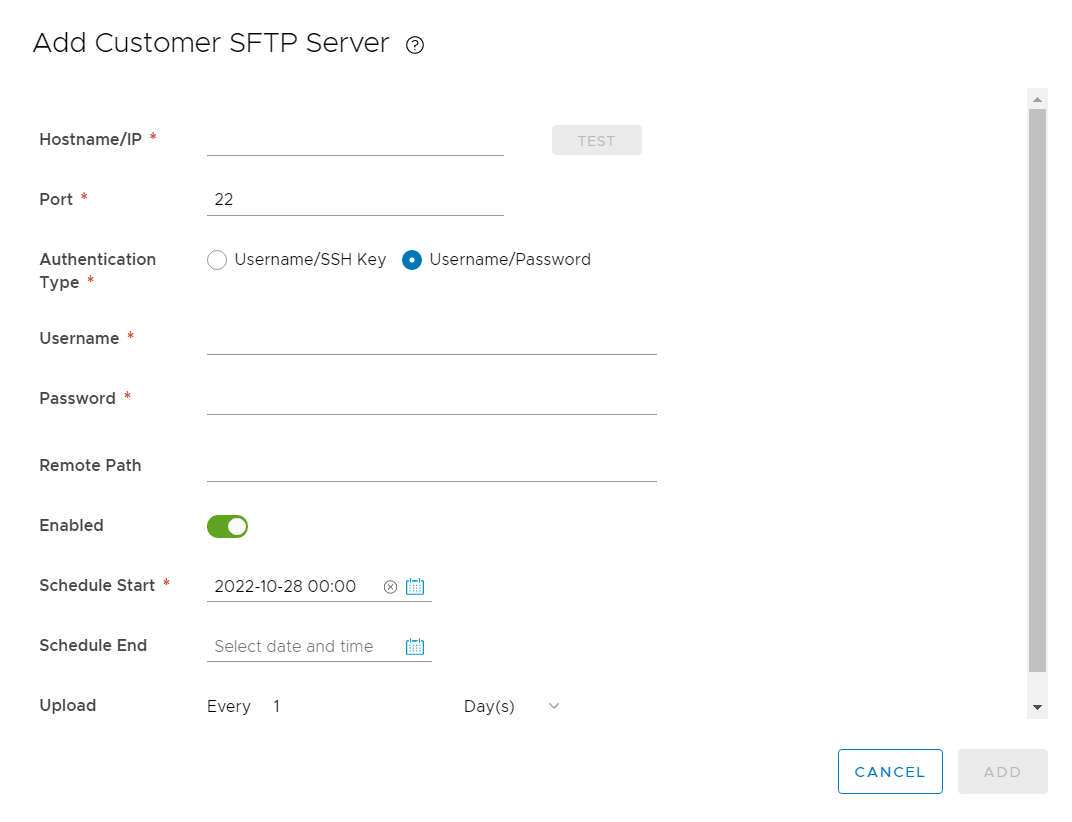
Configure SFTP for uploads
To configure the SFTP server for uploading the collection data to the Eyeglass Vault Agent, click the Uploads button

Th SFTP server can be added by clicking the “+ADD” button in the SFTP Servers section of the UPLOADS screen.

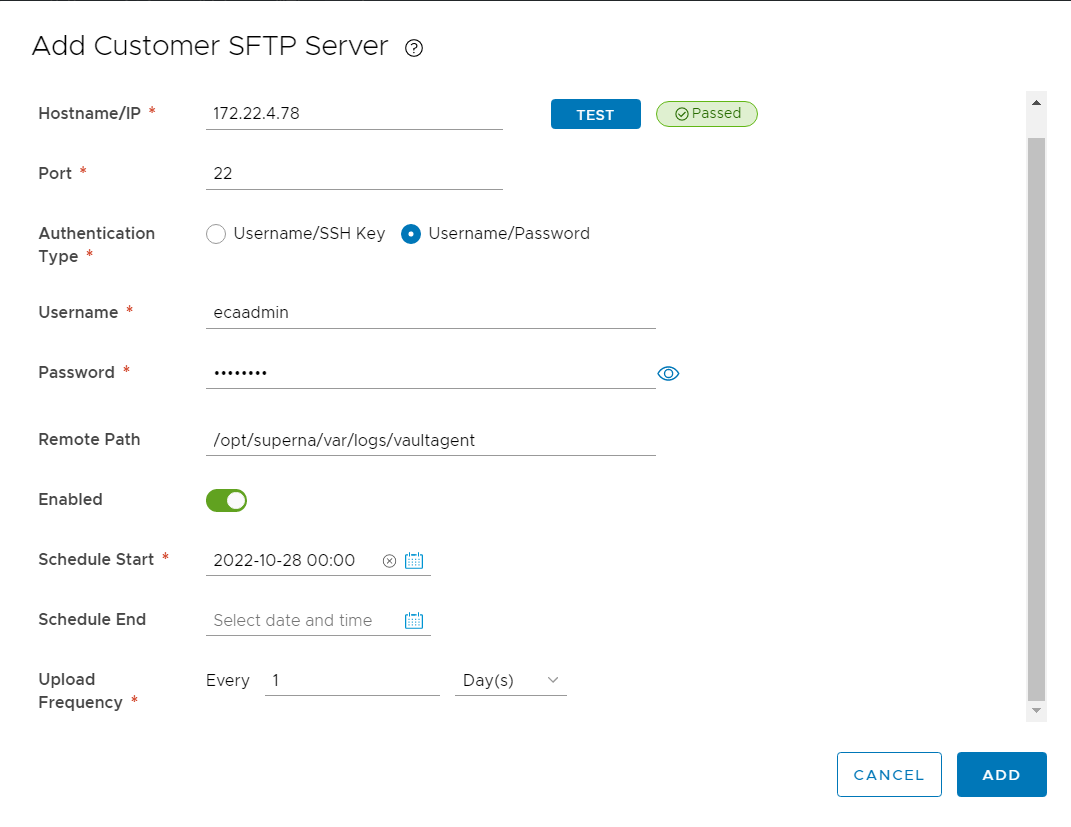
Add Eyeglass Vault Agent as the SFTP server. Provide the following information:
- IP Address : Eyeglass Vault Agent IP Address
- Port : use default 22
- Authentication type: select Username/Password option
- Username: ecaadmin
- Password: password for ecaadmin
- Remote Path: /opt/superna/var/logs/vaultagent
- Specify the schedule - e.g. once a day
To test connection to Eyeglass Vault Agent SFTP, press TEST button
Verify that on the Eyeglass Vault Agent, the uploaded test file can be received under directory /opt/superna/var/logs/vaultagent
Upload from UCC Edge to Eyeglass Vault Agent through SFTP
Based on the upload schedule that we set for the SFTP upload, UCC Edge will upload the generated collection data to the SFTP.
Once uploaded we can verify the status of the upload job.

To verify that the uploaded file is copied to Eyeglass Vault Agent, we can verify from the path /opt/superna/var/logs/vaultagent
ecaadmin@dgva78:~> ls -l /opt/superna/var/logs/vaultagent
-rw-r--r-- 1 ecaadmin ecaadmin 47284 Oct 28 01:15 ISILON_0050569f872446854763b722490abf129535_UE-dg-ucce89_2022-10-28_05-00-05_10001.gpg
Receiving the Log File on the Eyeglass Appliance
Requirements:
- Windows OS host to schedule billing data collection from eyeglass
- UCC local agent with Superna collection feature
- firewall ports from Windows host to Eyeglass requires TCP port 22 open
Push billing collection data to eyeglass
We can wait for the next vault agent log push job to finish uploading the latest log to Eyeglass Appliance under /opt/superna/sca/logs/airgap. Alternatively run the pushvaultagent job manually:
- SSH to Vault Agent as ecaadmin
- ecactl airgap pushvaultagentlogs
- Monitor the job: ecactl jobs view --follow --id <job-id>
- Once completed, we can verify by using SFTP to eyeglass as admin user to download the latest uploaded log file under the path: /opt/superna/sca/logs/airgap
Configuring the UCC Local Agent tool to transfer billing data to Dell from a Windows machine
Download UCC local agent application to a windows machine.
Run the command and specify the setting.
- unzip to a folder example c:\ucc
- from a command prompt
- cd c:\ucc
- ucc-local-agent.exe --config
- follow documentation to configure connection to Dell SFTP billing collection server
- ucc-local-agent.exe --config-superna (configured connection to eyeglass)
- Fill in the prompts as per below and change the ip address to the correct ip for your environment.
-
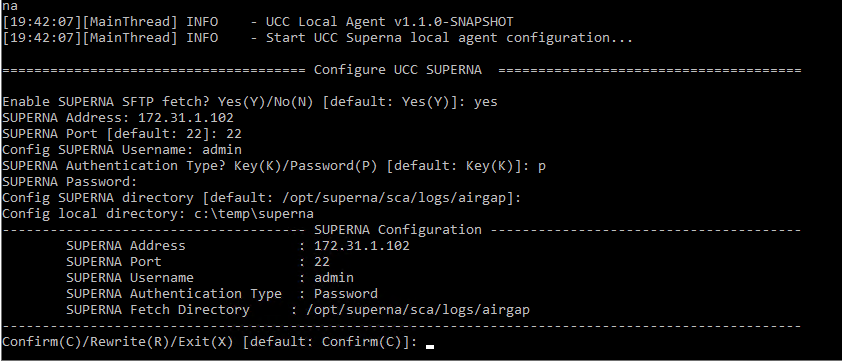
- Press C to confirm settings
- To test data collection to the local Windows machine run this command.
- ucc-local-agent.exe --fetch-superna
- done