Eyeglass Solutions Publication
ServiceNow Security Operations Incident Integration with Zero Trust Alerts and Airgap support
Home
- Security Edition ServiceNow Security Operations Zero Trust Security Incident Integration
- Support Statement
- Overview
- Supported Products
- Architecture Overview
- How to Configure
- Integration Script
- Features
- Steps to integration the endpoint with Security Edition Integration code
- How to test the integrations ability to create security incidents
- Sample Security Incident Created with Zero Trust Webhook and ServiceNow Scripted REST API Integration
- How to Configure Data Security Essentials
- Overview
- Requirements
- Features
- Steps to Configure Event Sync to ServiceNow Security Incident Response module
Security Edition ServiceNow Security Operations Zero Trust Security Incident Integration
Support Statement
- NOTE: This documentation is provided "as is" without support for 3rd party software. The level of support for this integration guide is best effort without any SLA on response time. No 3rd party product support can be provided by Superna directly. 3rd party components require support contracts
Overview
This solution will create a security incident in Security Operations module within ServiceNow for customers that have this module installed and perform incident response from this module for their security operations.
Supported Products
- Data Security Edition
- Data Security Edition Essentials
Architecture Overview

How to Configure
- This integration examples shows how to configure Security Edition Webhook alarms to create an incident in ServiceNow and include the details of the alert in the description. NOTE This is a basic example only and would need to be customized further to map fields in the webhook payload to specific ServiceNow fields.
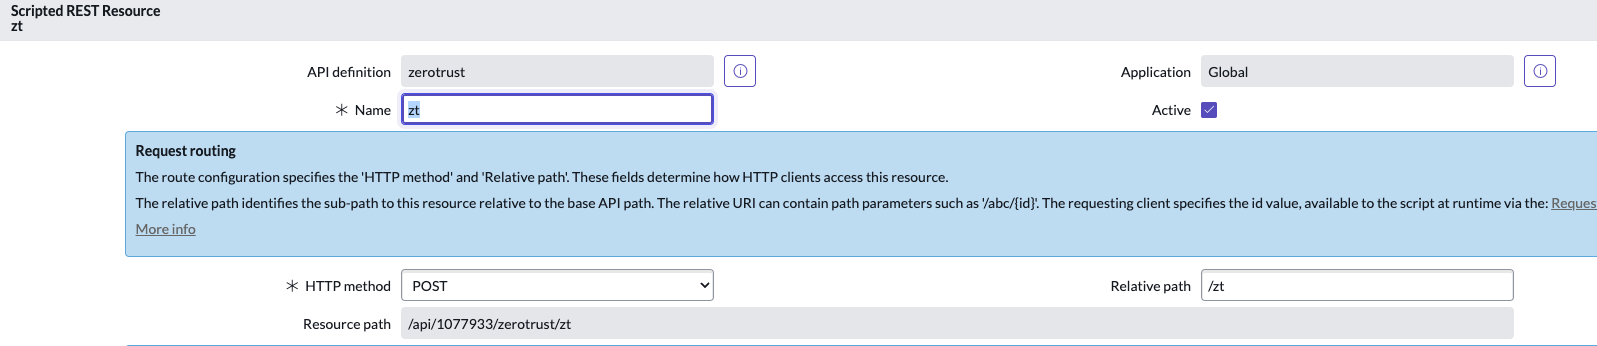
- Using this guide (How to Integrate Webhooks Into ServiceNow) create a ServiceNow Scripted Rest Resource Webhook
- Example Scripted REST
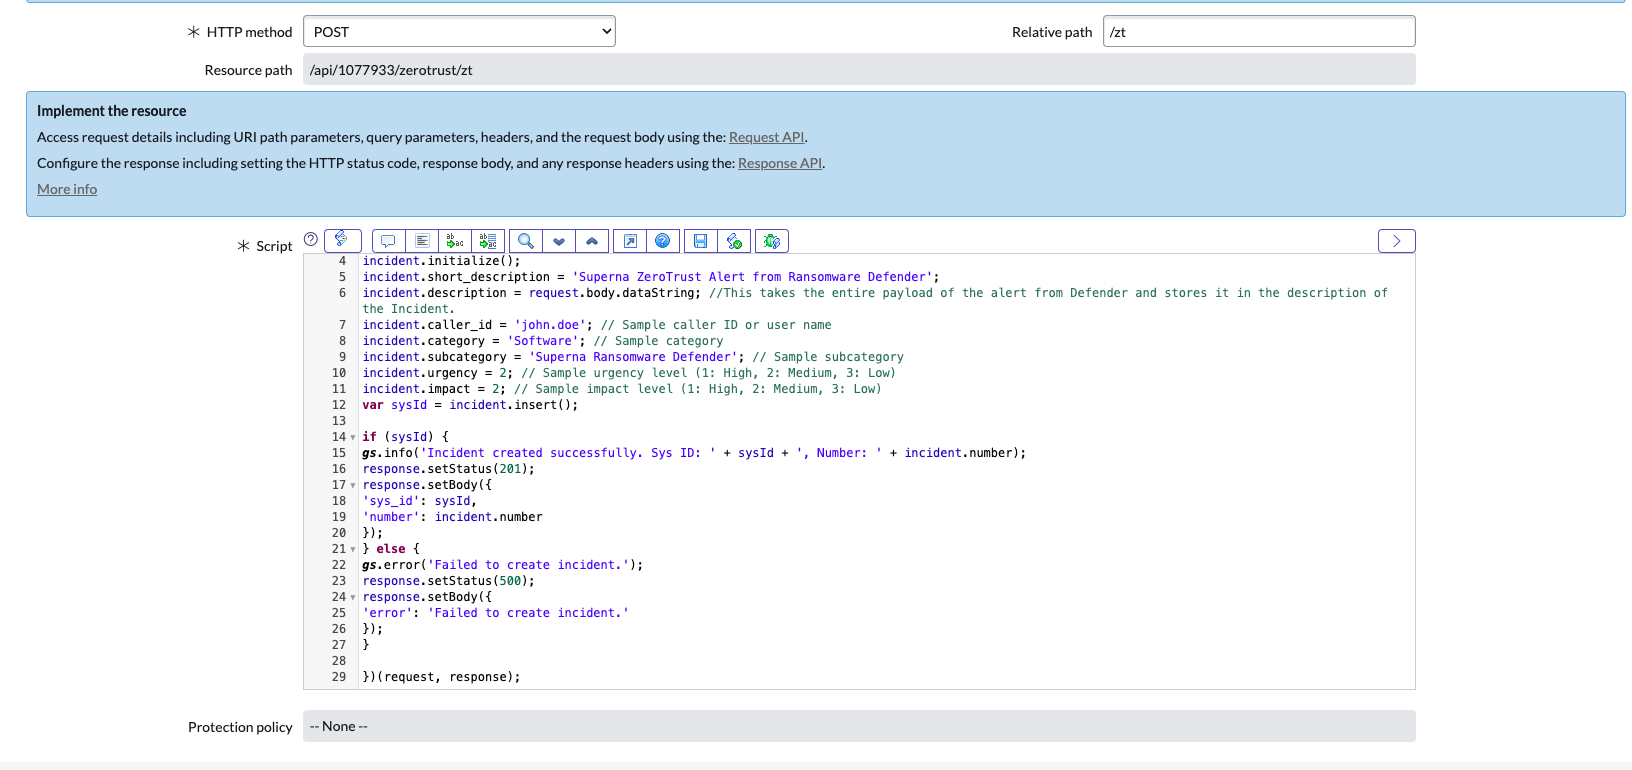
- In the script section
- Example Scripted REST
Integration Script
Features
- Creates new security incidents in Security Operations workspace
- Supports Airgap Alarm webhook processing
- Updates security incidents when the event ID from Superna Security Edition matches an existing incident, this allows different status updates on an event in security edition to update the working notes in servicenow to show the history and state changes of the event. The Activity of the SIR will be updated with state changes for the same EventID
- If monitor mode is enabled, the incident will be created but closed with the history showing the work notes. This feature allows monitor mode customers to test the integration without creating open incidents in ServiceNow
- CMBD Features:
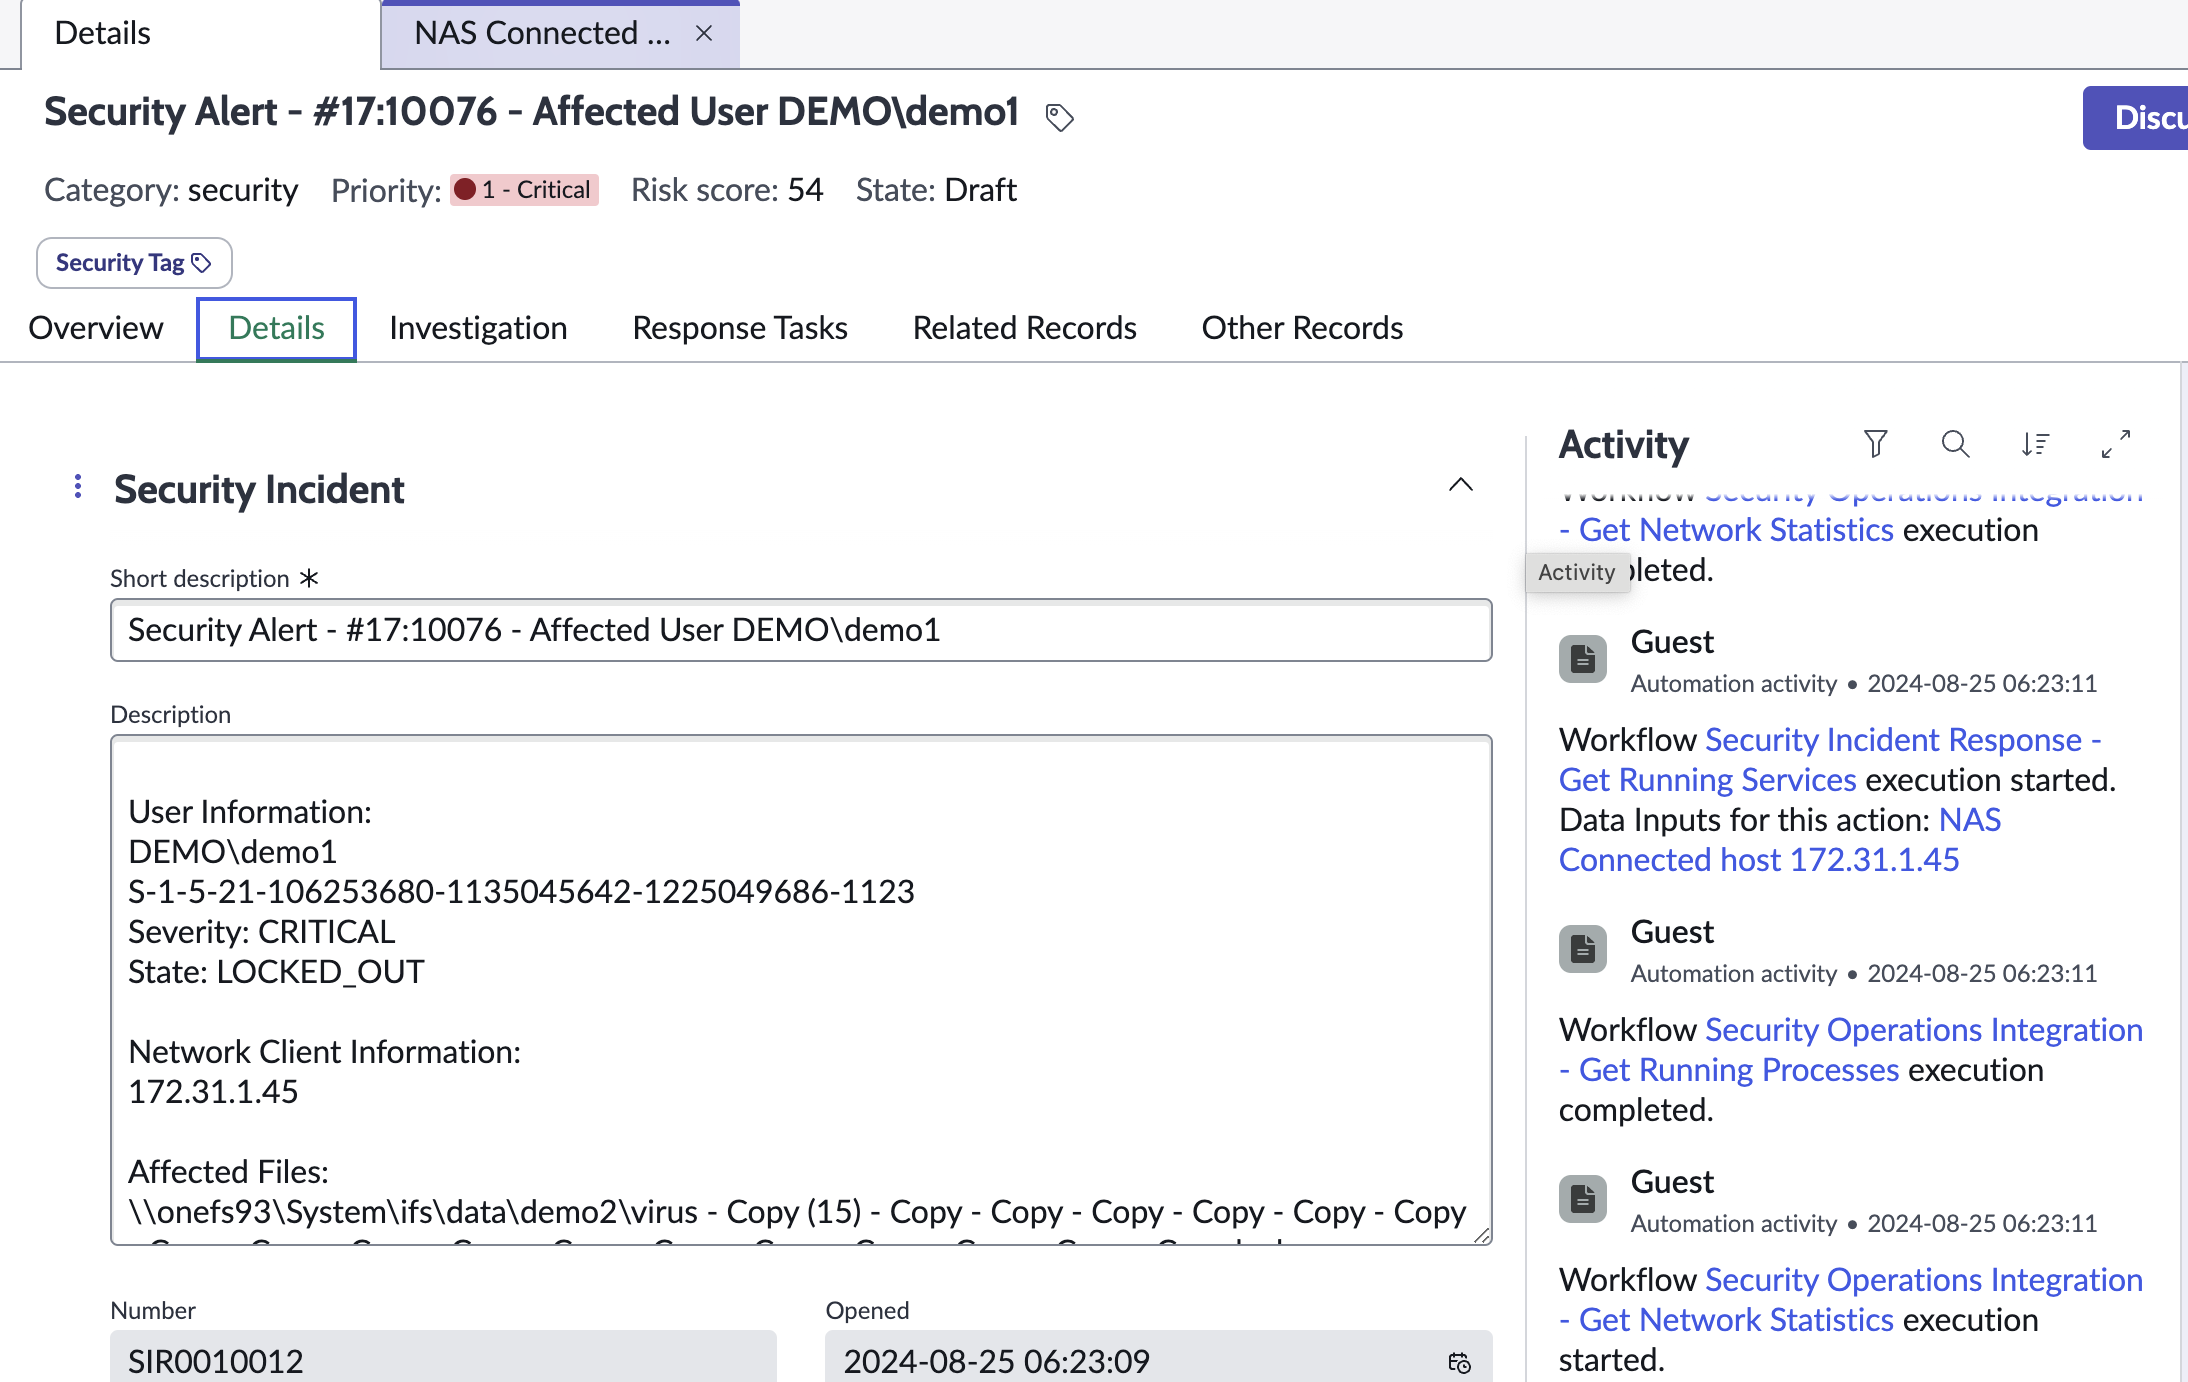
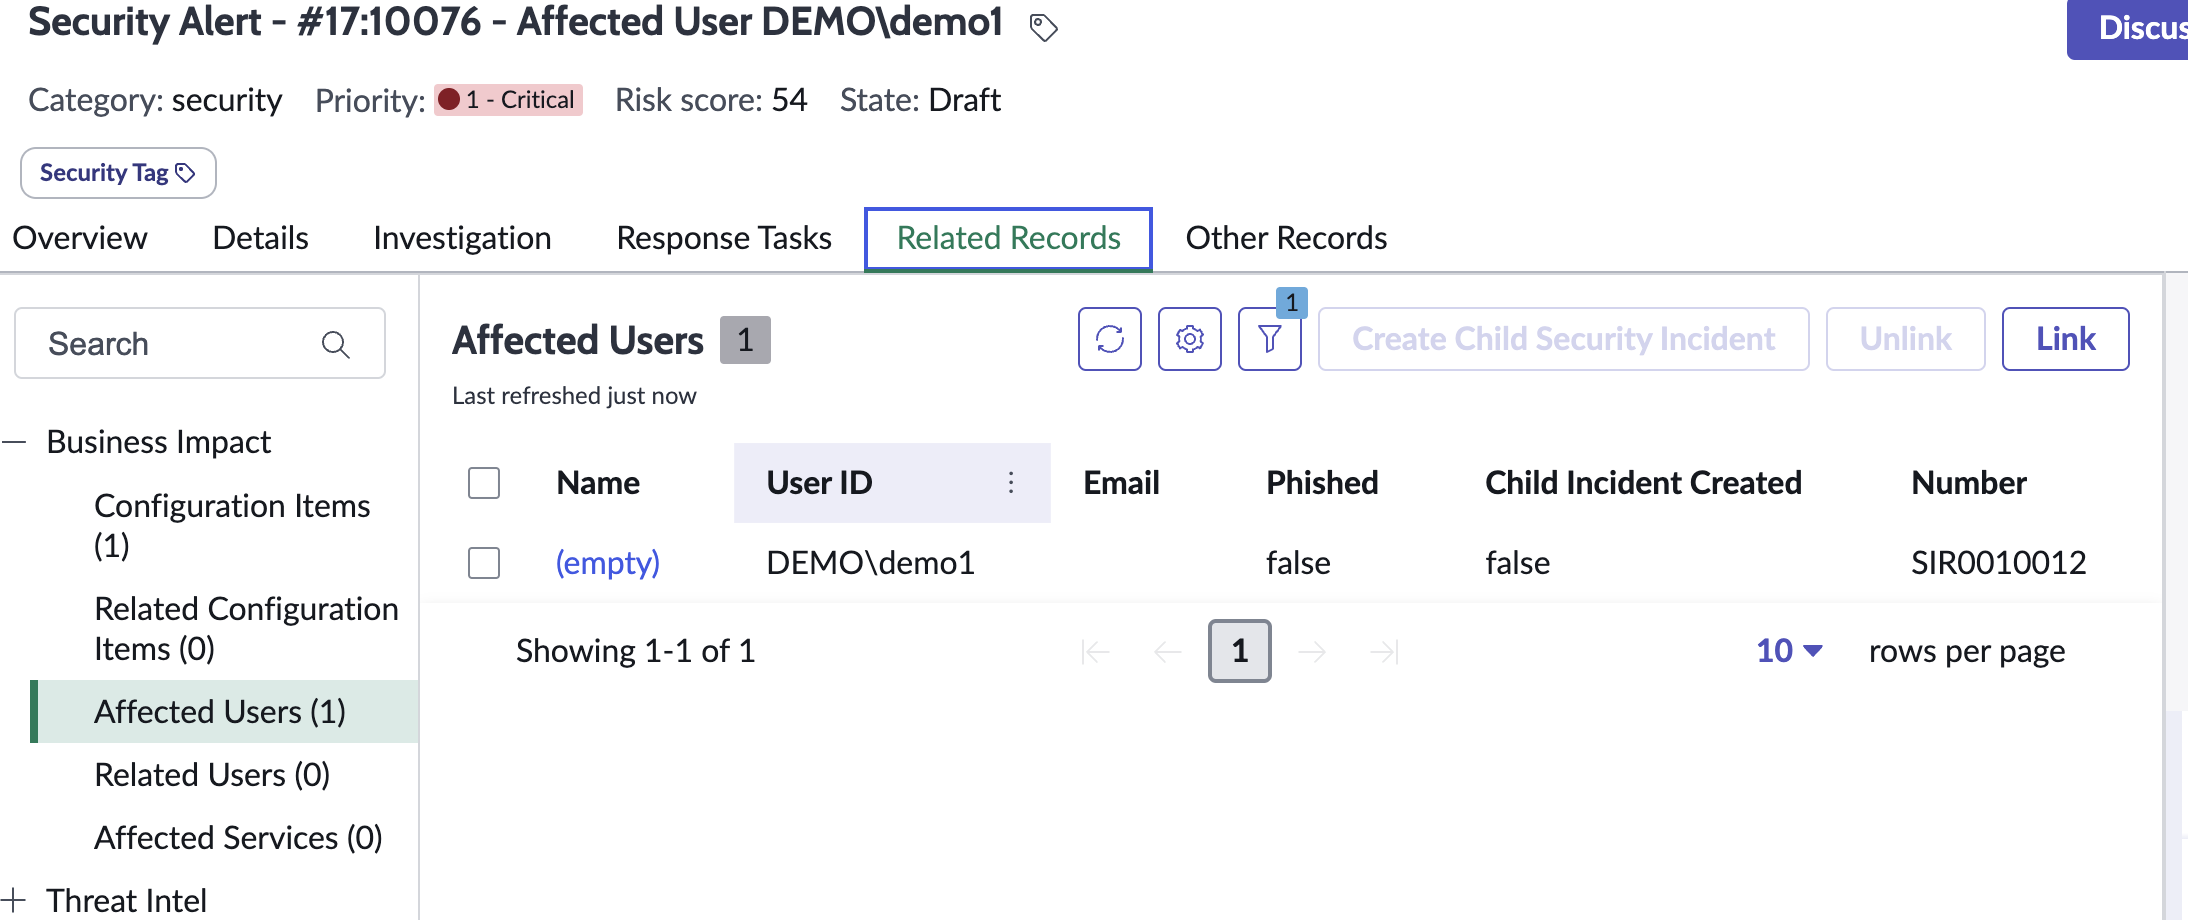
- Creates a new user object if needed and associates the affected user property to the SIR to show the impacted user account.
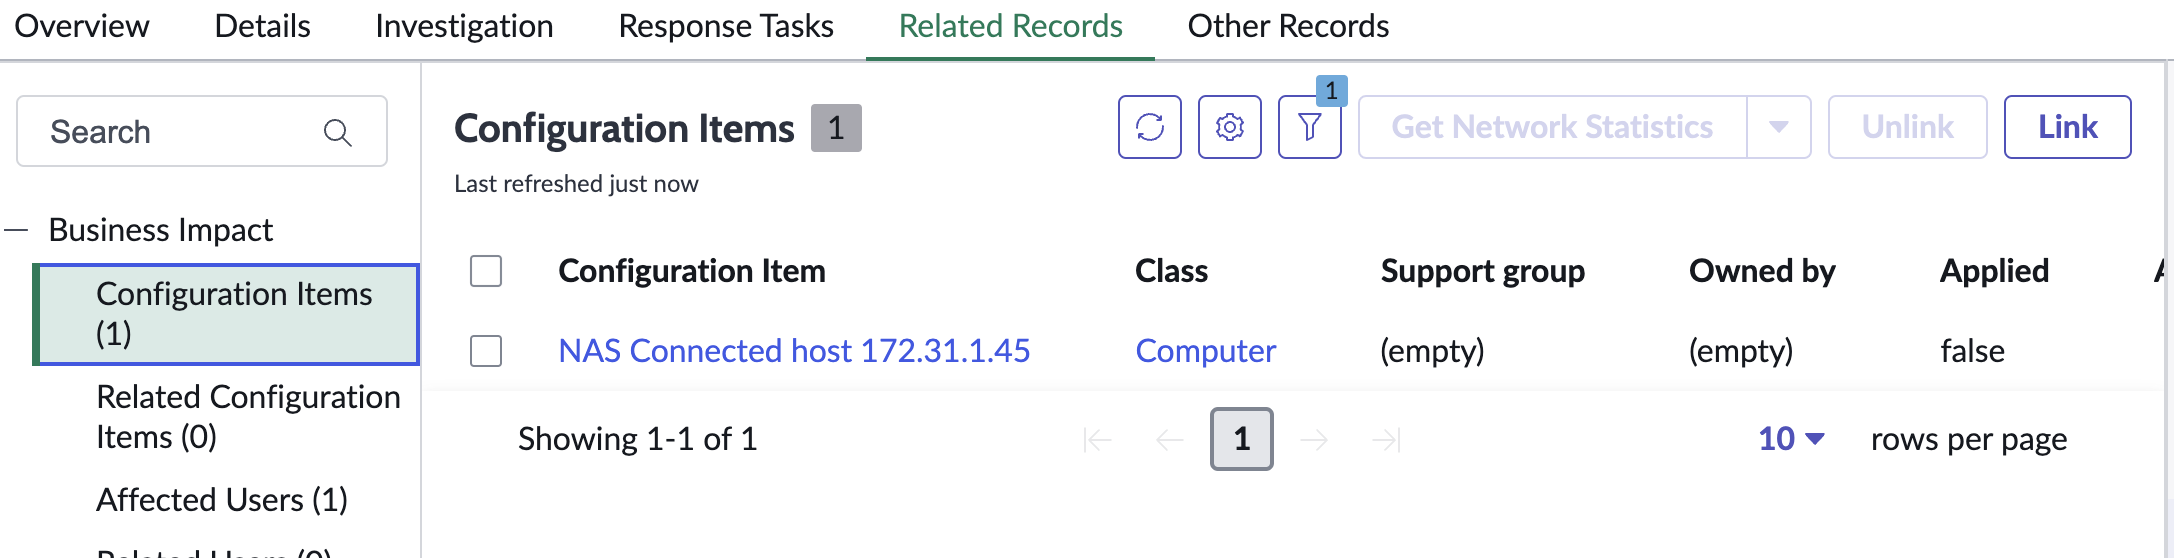
- Creates a new computer CI class with ip address populated, description set to indicate why this CI was created, name is NAS connected host.
- The integration code will only create a CI if the search for a CI with the affected client IP is not found.
- The user and host are associated to the Security Incident.
- This allows integration with other tools that use the client ip or user name fields for other automations.
- Download the code for Security Operations Integration here.
- Open the file and copy and paste the script text to the endpoint script editor.
See example below
Steps to integration the endpoint with Security Edition Integration code
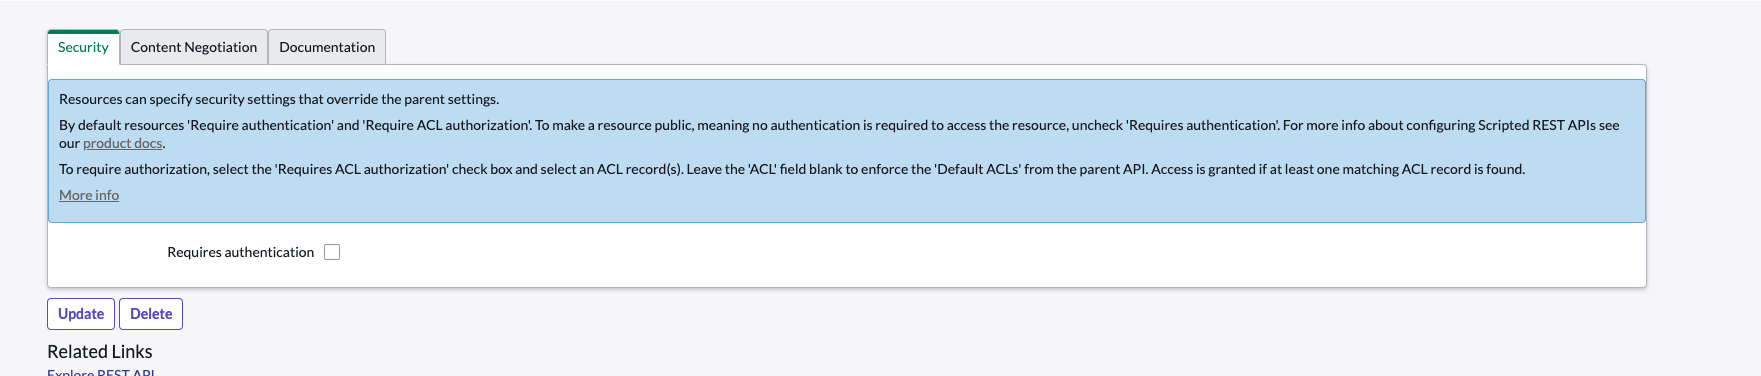
- Save the Resource script after you paste it
- Disable Security for testing.
- Get the endpoint url for the webhook in Security Edition
- The resource would be https://yourInstance.service-now.com/<resource_Path>
- In this example the resource path is displayed in the editor

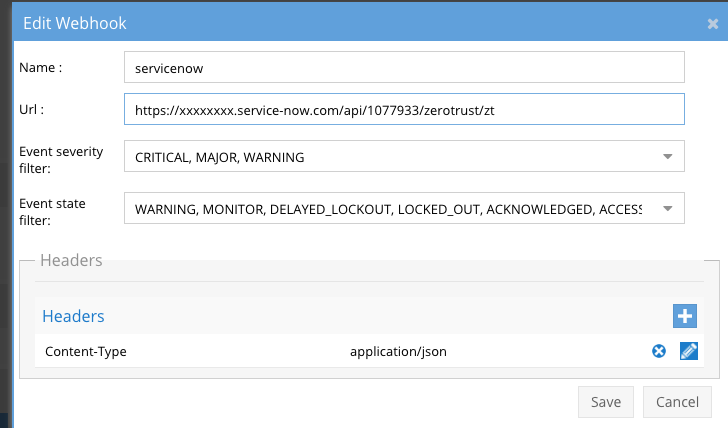
- Configure the Webhook in Security Edition Zero Trust UI
- See guide above for more details,
- OPTIONAL If enabling support for Airap Cyber Vault webhook processing, Open Eyeglass Main menu --> Notification center --> Webhooks and use the same endpoint url configured below and headers.
- Non authenticated - See below with headers section added for Content-Type and value application/json
- To use authenticated endpoints follow these steps.
- Create User for API authentication:
- Select All > Search for User Administration > Select on Users under User Administration
- Select New > Create a user with basic details as below > Submit
- Now assign the role - rest_service to the service account
- The users password musts be base 64 encoded to create the authentication token.
- Login to the eyeglass VM over ssh and run this command to combine the username and password of the user into a token. Replace the yellow text with the username created above and the password for that user. The output of this command will return a string of text that will be used in the authentication header.
- echo -n "username:password" | base64
- If using authenticated endpoints add an additional HTTP Header using Authorization key and Basic xxxxxx , where xxxxx is the api key provided by ServiceNow.

- Save and click the test button
- If successfully configured you will receive an Incident number back see below.
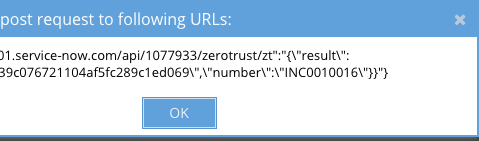
- Done
How to test the integrations ability to create security incidents
- Download this curl command and edit the url to match your service-now instance DNS name and the resource path configured on the scripted endpoint.
- Run this curl command to send a webhook payload lockout critical event to the endpoint. Then look in the dashboard for a new security incident.
- Download curl command sample here.
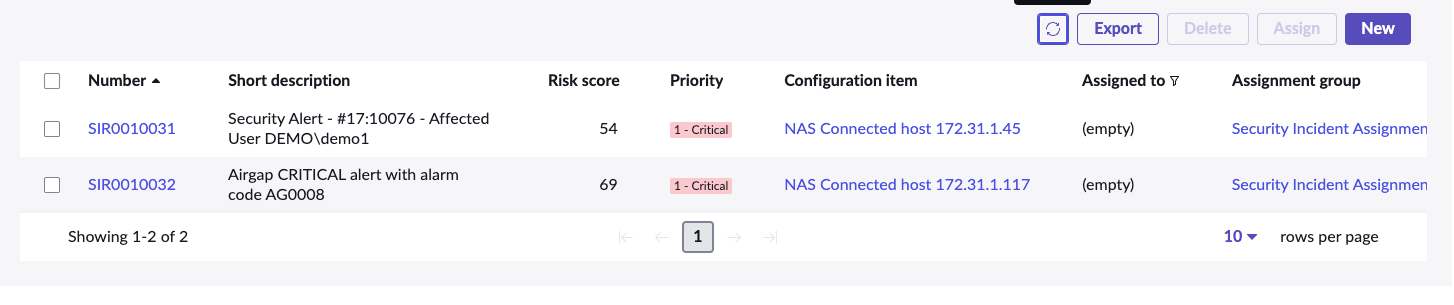
Sample Security Incident Created with Zero Trust Webhook and ServiceNow Scripted REST API Integration
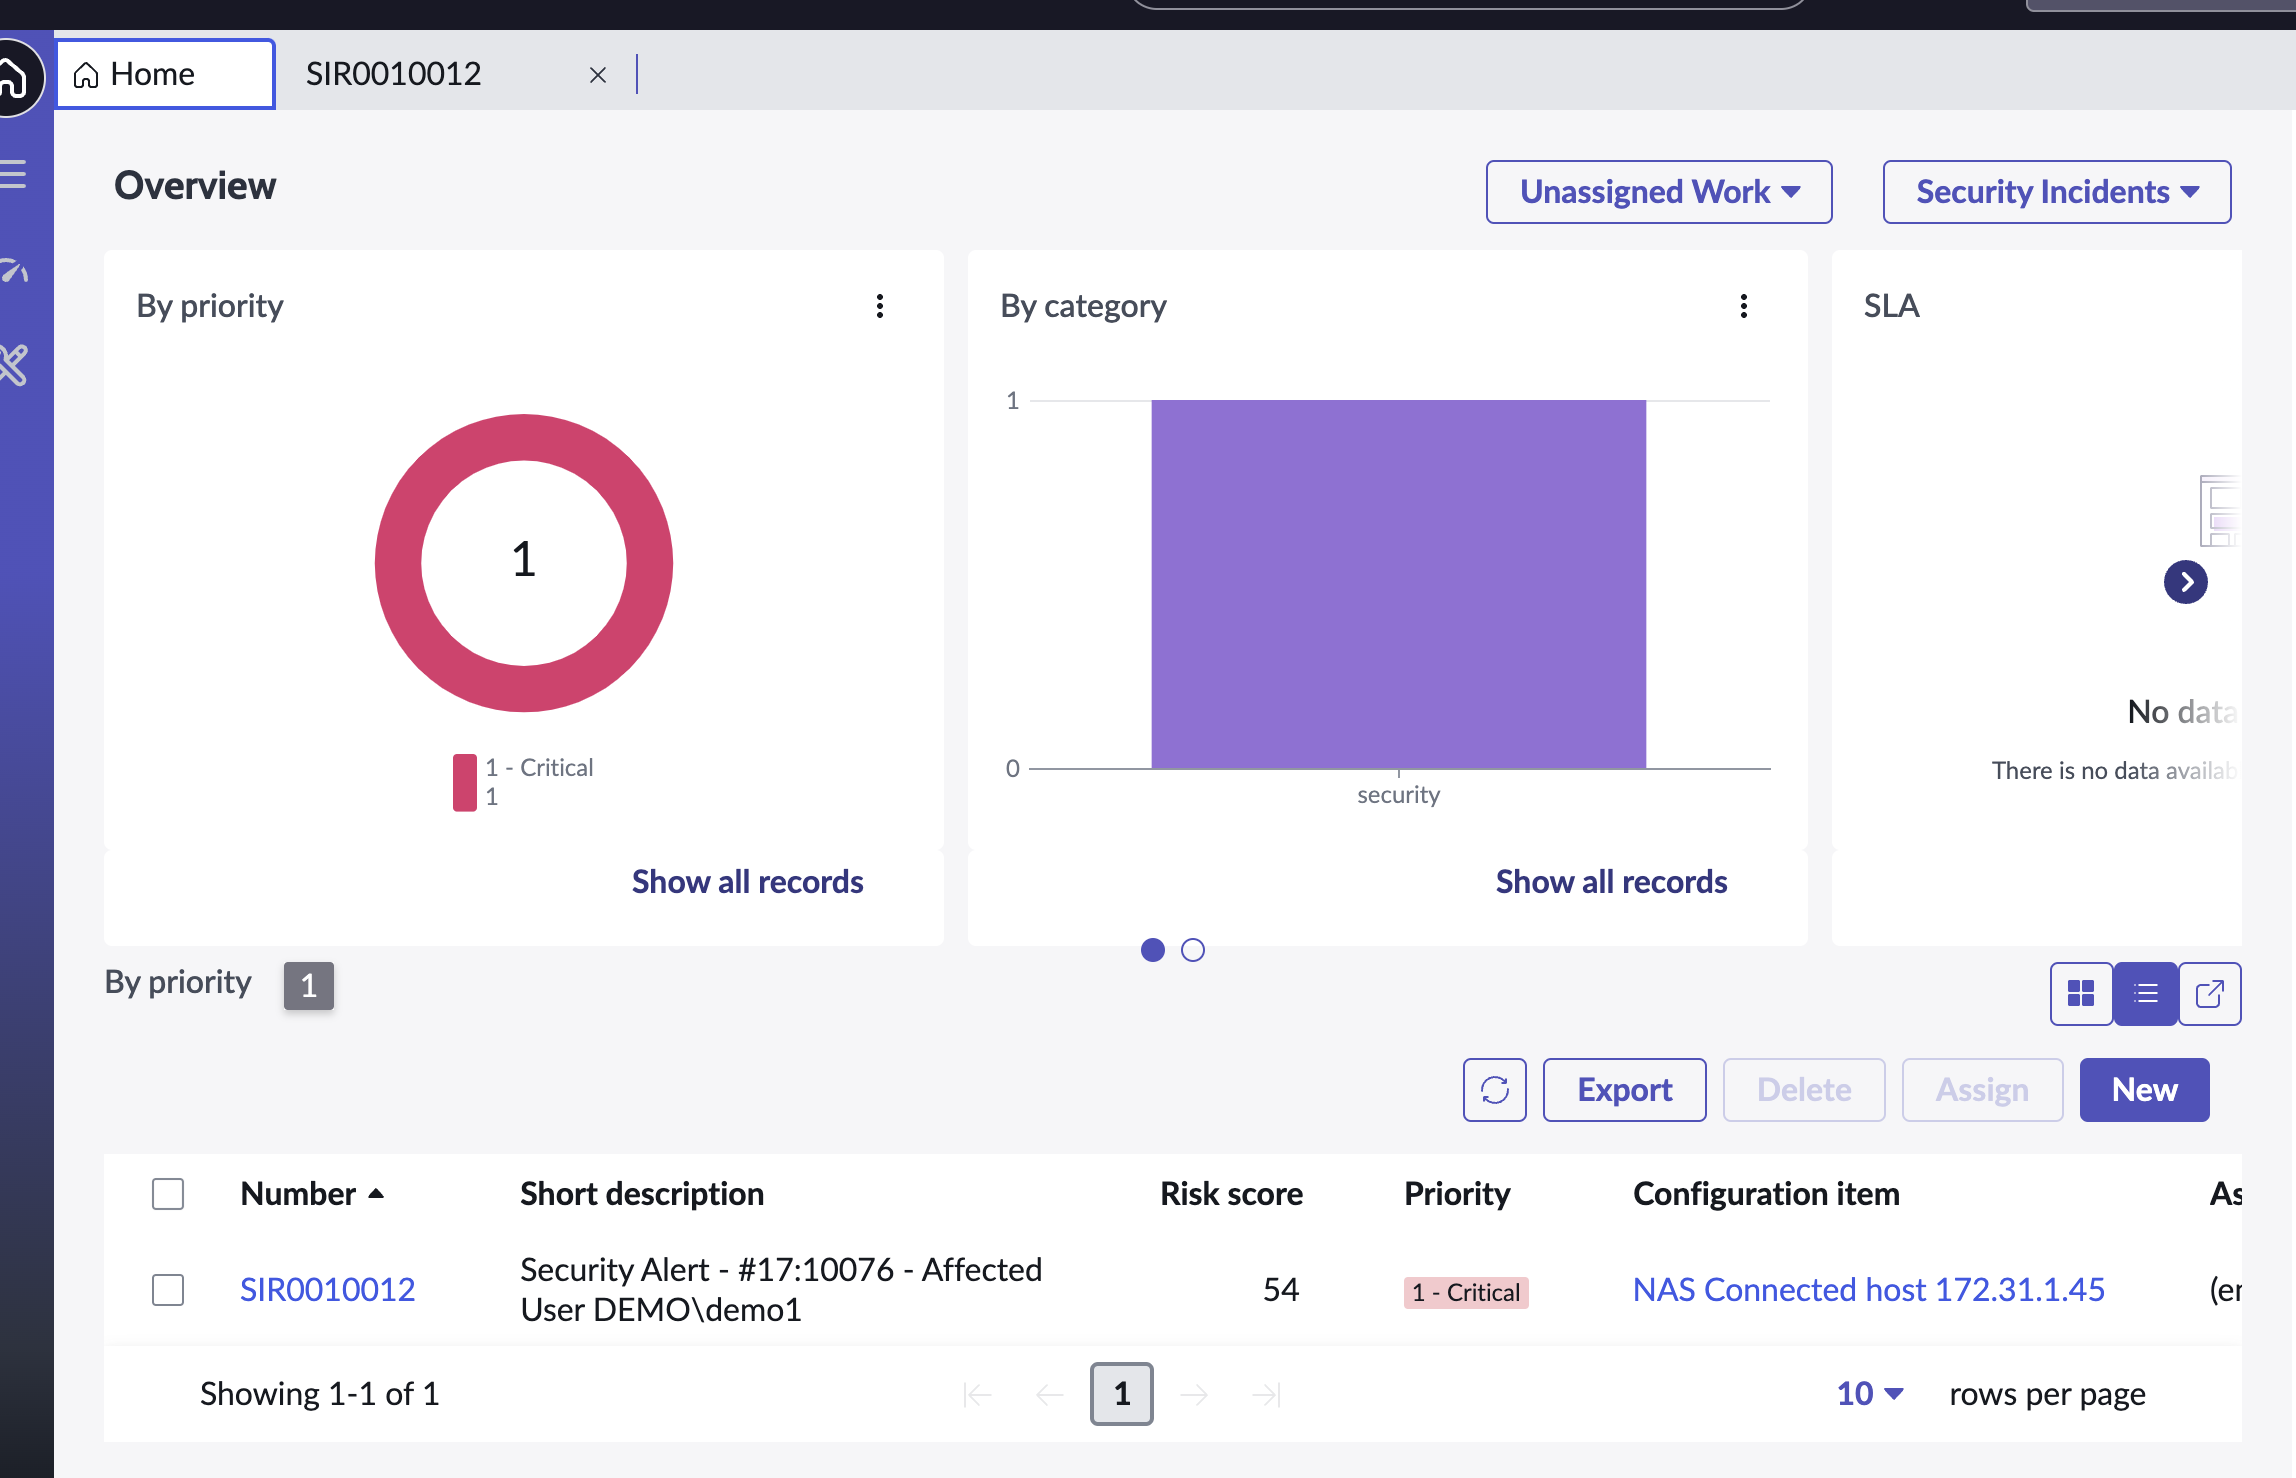
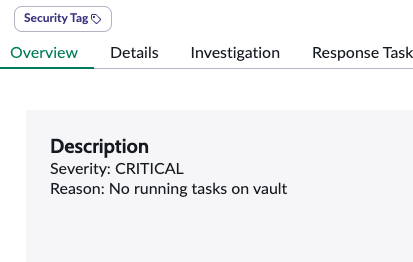
- Security Incident details
- Airgap Incident creation with alarm description within the body of the incident.

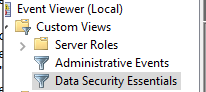
How to Configure Data Security Essentials
Overview
Data Security Essentials saves alerts to the Windows Event log to a custom application log. This integration will extract the log entries and the json payload contained within them and format as webhook data to send to ServiceNow Scripted Endpoint.
Requirements
- Follow the ServiceNow integration steps above to configure the Scripted REST API endpoint
- Install python for Windows on the Data Security Essentials host and allow the installation to add python to the path variable. https://www.python.org/downloads/windows/
- NOTE: Ensure it's installed for all users so service accounts have access, by enabling for all users during installation.
- The integration code matches event log entries from Custom trigger BOT policies and File management policies
- The event log source names are below
- Superna Data Security Essentials BOT Service
- Superna Data Security Policy Engine
- The event log source names are below
Features
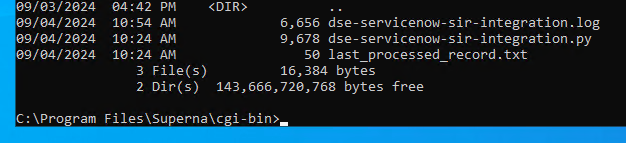
- Logs for each execution are stored in the path below along with the python code.
- Each execution will store the event log record ID and date time and event number of the last processed event in a file called last_processed_record.txt. This file is read on each execution to continue processing from last record. The record number is not visible in EventViewer, the date time and event number can be used to understand where in the log the last processing occured.
- The schedule sync runs every minute and only processes events since the last record and logs all processing as well as matches in the log file.
- Only Warning or higher level of events are processed, informational events are ignored.
- The ServiceNow Scripted endpoint code will update SIR incidents when the eventID generated by Data Security Essentials.
Steps to Configure Event Sync to ServiceNow Security Incident Response module
- Download the integration code from here.
- Modify the python and update the servicenow endpoint url at the bottom of the file.
- Locate this section # Your ServiceNow webhook details
- Edit the url to match your servicenow instance url and the Scripted Webhook url created in the steps above.
- Copy the Python code into C:\Program Files\Superna\cgi-bin on the Data Security Essentials host and name the file dse-servicenow-sir-integration.py
- Install python dependancies
- MANDATORY Step: Open a command prompt as the service account (hold down shift and right click the command prompt icon) run as option to login as the service account dse-service. This is required to install the python packages under the correct user account.
- Install the dependencies with this command
- pip install pywin32 requests
- This command installs the windows API python libraries needed to read the event log.
- Test the script can correctly reach your servicenow instance from a dos prompt
- cd C:\Program Files\Superna\cgi-bin
- python dse-servicenow-sir-integration.py
- The output should display event log entries that match and will ignore Information level events. It will display the event payload details in json format and will show the data that was sent to the servicenow endpoint. The endpoint code will only map a subset of the overall data into the SIR incident.
- Example output
- Steps to Schedule sync alerts into ServiceNow Security Incidents
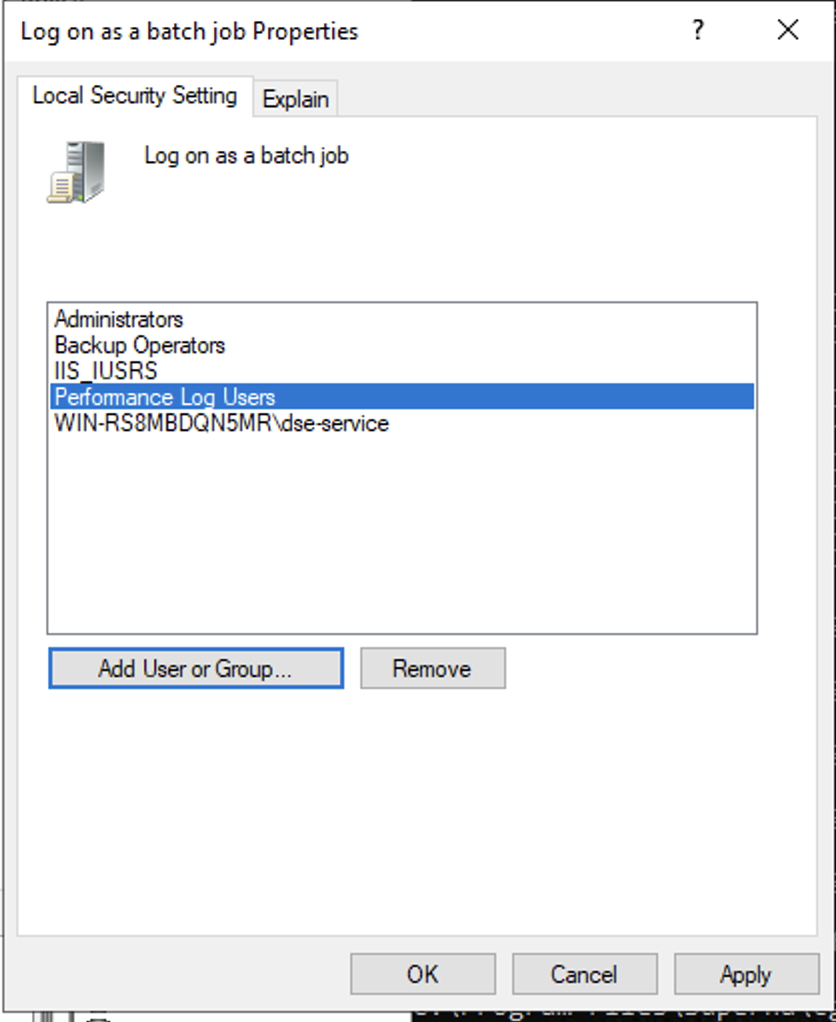
- Open secpol.msc, Local policies
- Give the Data security essentials AD service account the "Logon as a batch job" OS permission.
- Create a file
- Right click this link to save to a file. The task scheduler XML file to import into Task Scheduler
- Open Task Scheduler
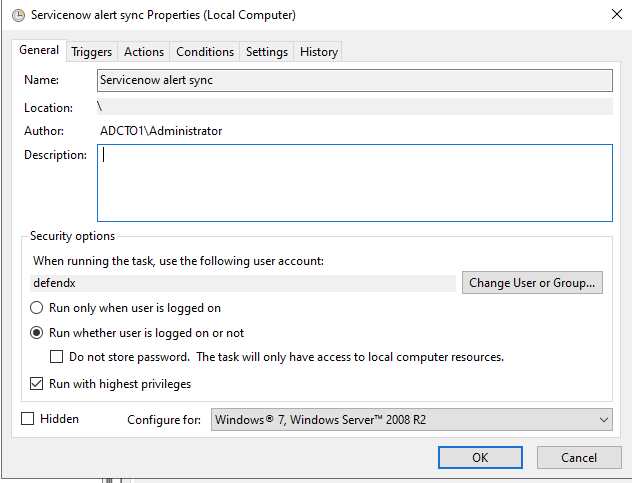
- Run taskschd.msc, right click task schedule library

- Import the xml file
- You will be prompted with the task definition, you will need to change the service account to match your service account name and domain and re-enter the password to save the task scheduler. All other settings are configured and match the path and settings used above. Adjust any parameters that you changed if you did not use all the steps above.