Windows DFS Configuration Example For Basic Robot
Windows DFS Configuration Example For Basic Robot
If you want see how the DFS Mode Runbook Robot changes the DFS Target from Production cluster to DR cluster follow the steps below:
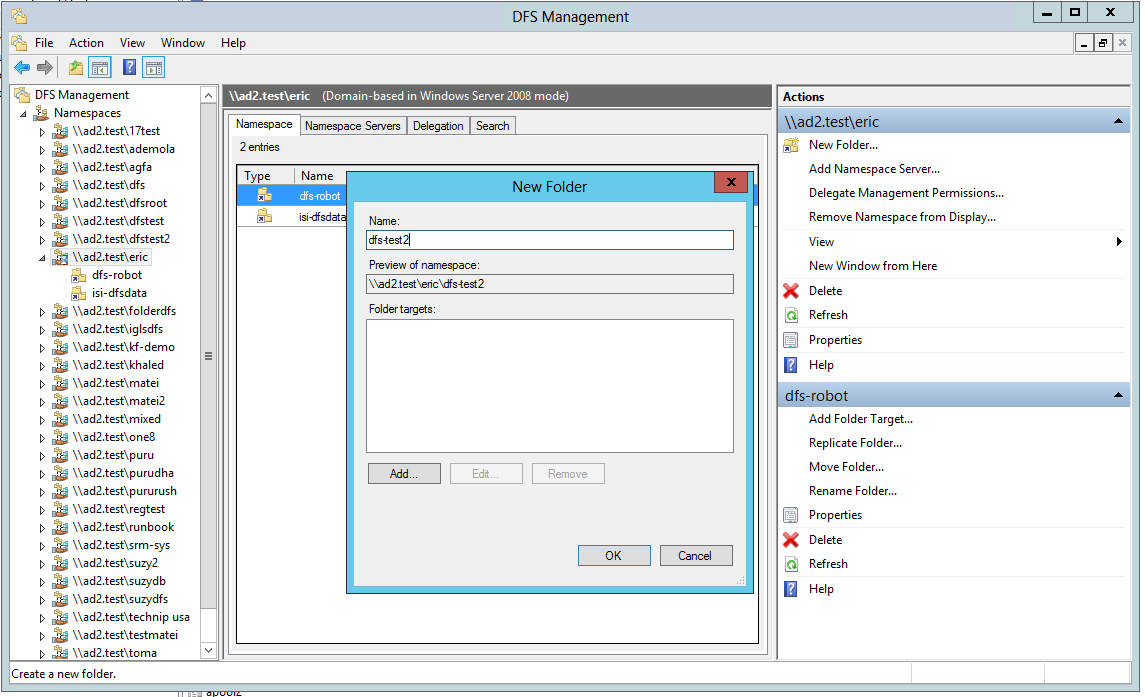
- Open your DFS Management console and navigate to the Namespace you want to add your new folder to and select “New Folder” from the right hand menu and enter the name of the new DFS Share in the Name field.
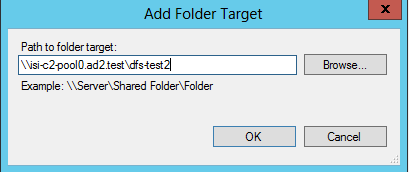
2. Click the Add button and add the share path for the Prod cluster and click Ok.

3. Click the Add button and add the share path for the DR cluster and click Ok.
4. When adding the DR cluster, you may experience a long wait as the share on the DR cluster may not already exist, please wait until another window has come up. This will likely happen if you haven’t ran the Configuration Replication for the DFS Mode Job you recently added. If you are prompted to create the folder (if it does not exist), choose No.
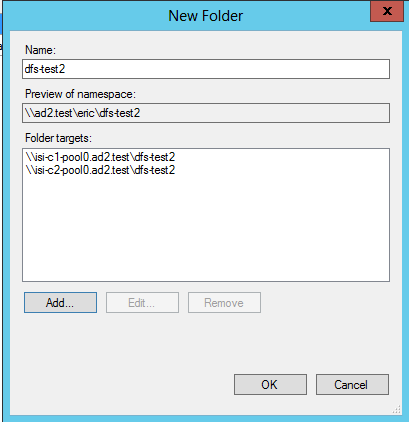
5. You will then have both targets added and you can click Ok.
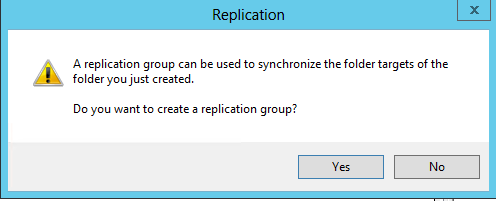
6. When asked if you want to create a replication group, choose No.
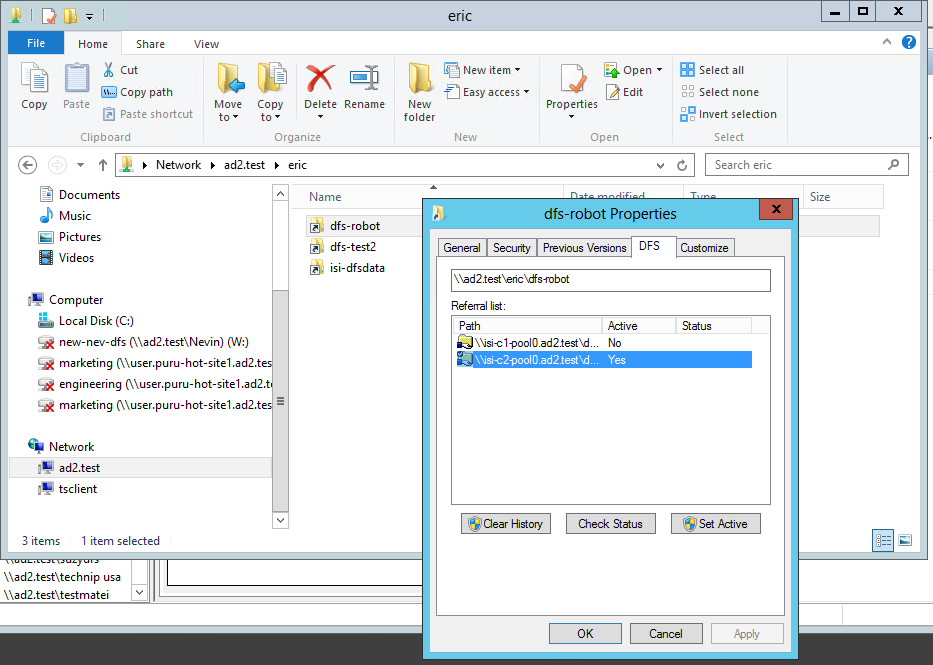
7. To view the active DFS Target through Windows Explorer:
- Open Windows Explorer and navigate to your DFS Namespace path where your newly created folder is in (this example: \\ad2.test\eric).
- Right-click on the folder you had just created and select Properties.
- Goto the DFS tab and you will see the two DFS targets you had created.
- The active target will have a Yes under the “Active” column. See image below:
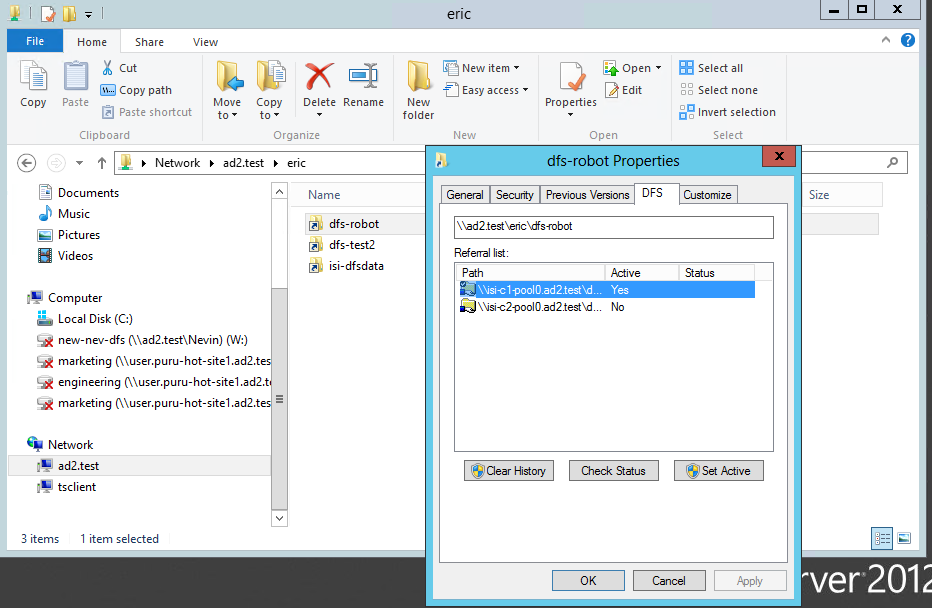
- After a failover of a Sync IQ policy in DFS Mode, if you check the DFS Properties window as show above, you will see that the Target list will now show the DR cluster target is now showing as Active. See image below:
© Superna Inc