Eyeglass Administration guides Publication
LiveOPS DR Testing 2.0 Writable Snapshots
Home
- Overview
- Use Cases
- Overview Video
- Requirements
- Configuration
- How to Delete Your Testing Snapshot and or Configuration Data
Overview
The new LiveOPS DR testing 2.0 feature replaces the 1.0 implementation. This is based on Writable Snapshots and test access zones created for dev/test sandbox or DR testing, or application upgrade testing.
Use Cases
- DR Testing.
- Application upgrade simulation testing.
- DevOPS development.
- File System testing.
- ACL scripting tests (better safe than sorry).
- Just because it's appealing and innovative.
Overview Video
Requirements
- Eyeglass 2.5.8.2
- Onefs 9.3 or later
- SnapshotIQ license
Configuration
- This feature will create a snapshot on the path you want to present in the testing Zone.
- Create a DR test access zone anywhere in the file system.

NOTE: You can create more than one test access zone to create DR test zones or dev/ops test zones. 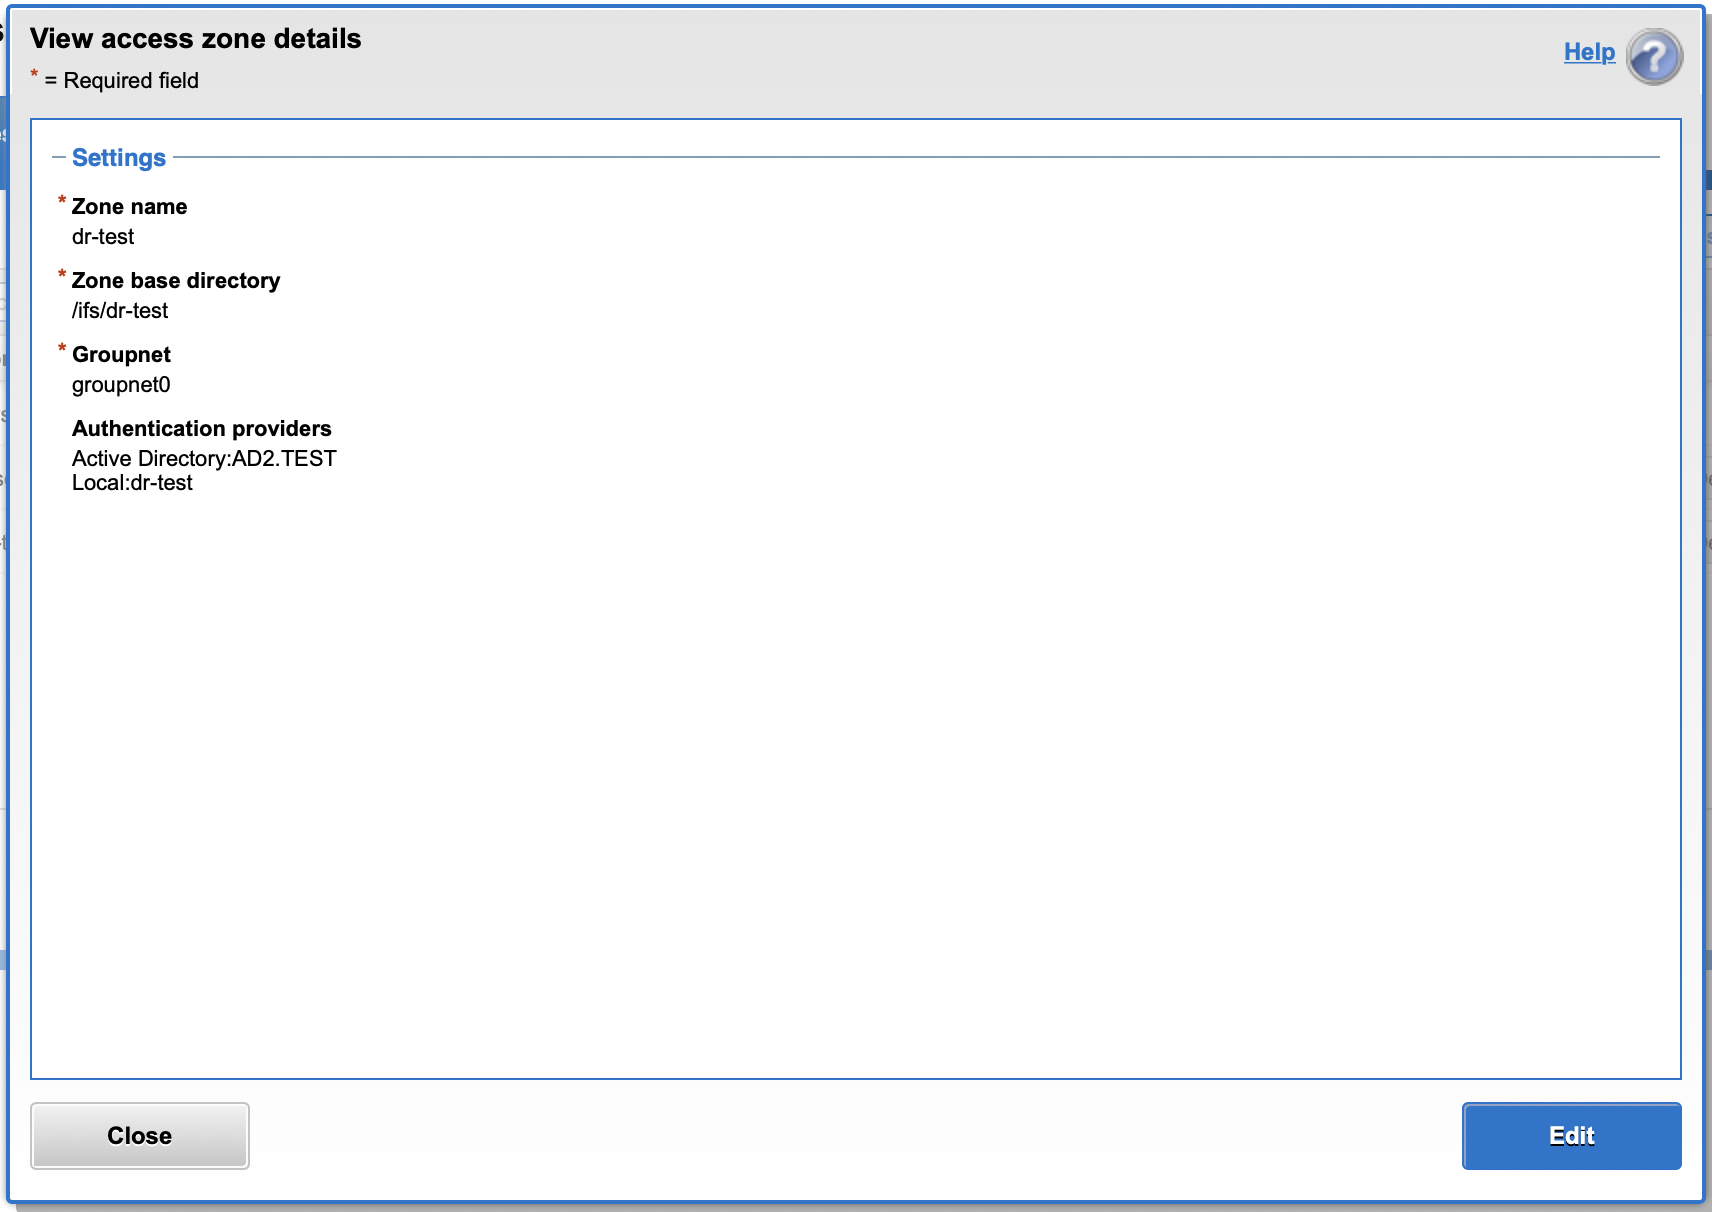
- Create an IP pool to attach to this new Access zone, create a smart-connect name for mounting and complete DNS delegation steps following PowerScale documentation. Reference Link to internal documentation https://manuals.supernaeyeglass.com/project-eyeglass-configuration-guides/HTML/how-to-configure-access-zone-dns-dual-delegation.html#h.9l40zeleuv32
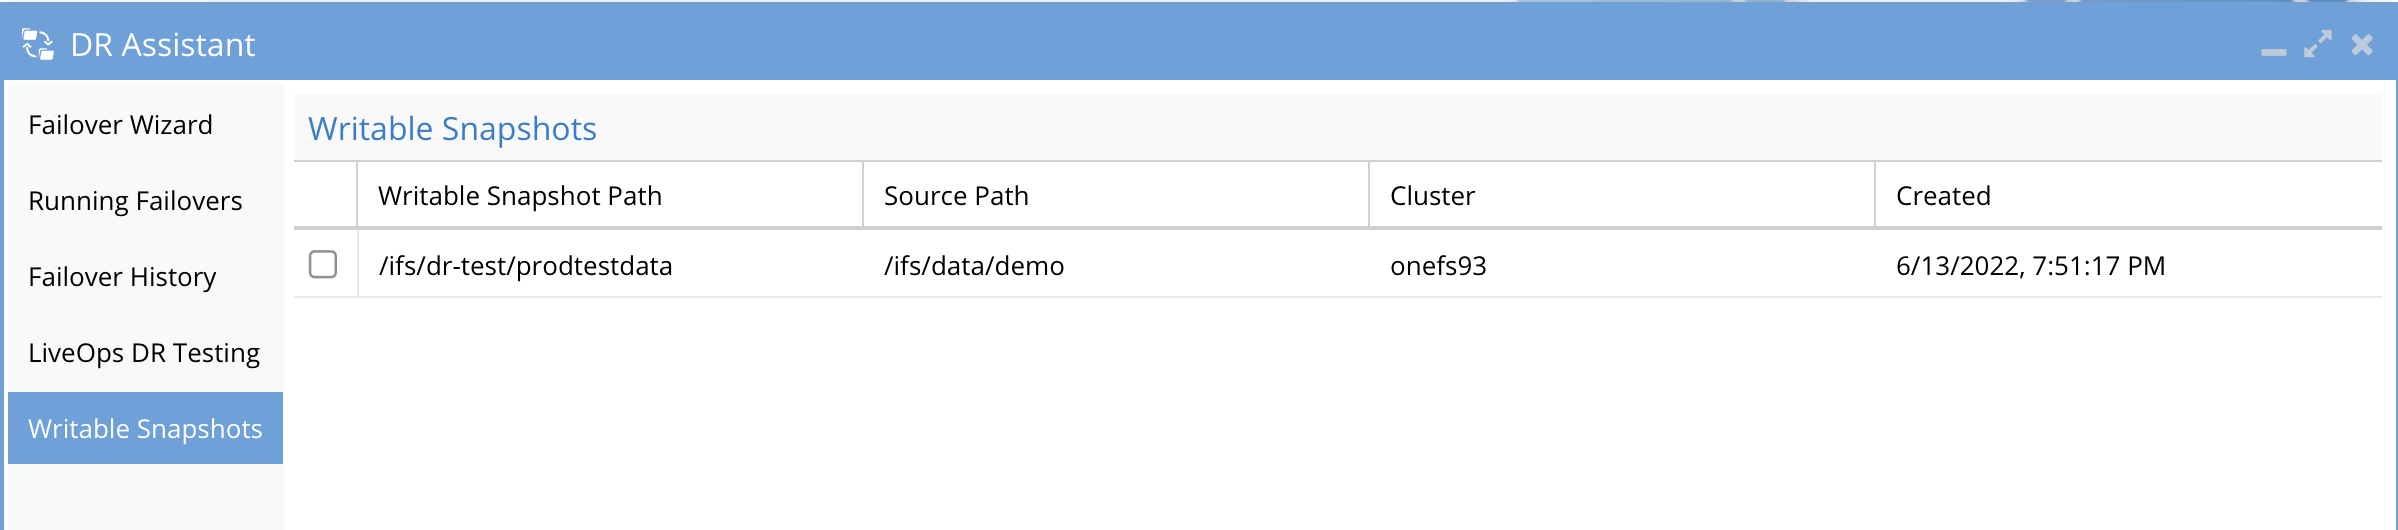
- Open DR Assistant and Click the Writable Snapshots tab.
- Click + Create Writable Snapshot.
- Cluster: Select your source cluster from inventory.
- Snapshot Source Path: Select a path to create a new source path snapshot on demand.
- Copy Config: Check or Uncheck the Copy Config check box. The snapshot is to be copied into the DR Test access zone.
- Writable Snapshot Access Zone: Select an Access zone that was created for this testing area.
Note the Access zone should be created specifically for DR Testing and you should not select a production access zone. It’s ideal for this to be an access zone with no data. - Writable Snapshot Path: Enter a subfolder underneath the access zone base path to create the Writable snapshot and present the data.
NOTE: The associated configuration (shares, exports, aliases and quotas) will be created under this path relative to the location under the source snapshot.
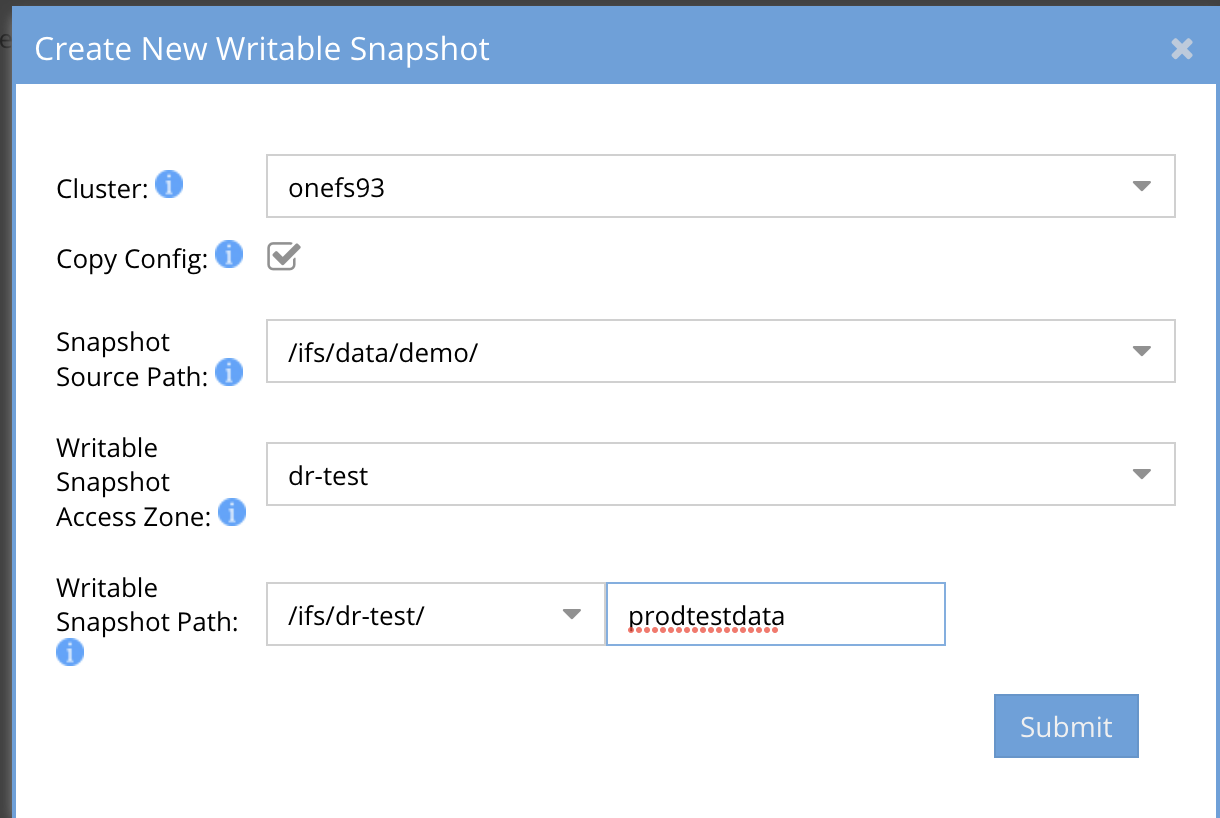
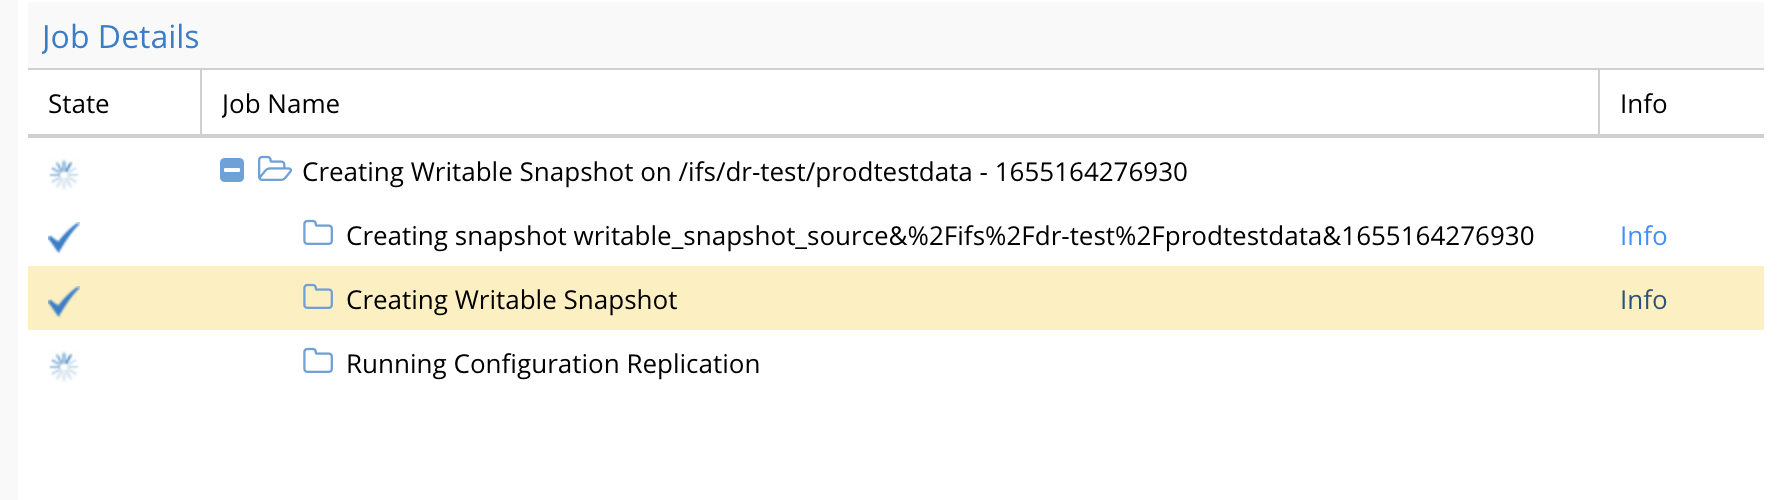
- When the form is completed, click Submit. This will launch a job, and you can view the job status from the running jobs. This job will create the Writable snapshot and copy the configuration data into the new access zone that was auto-detected.
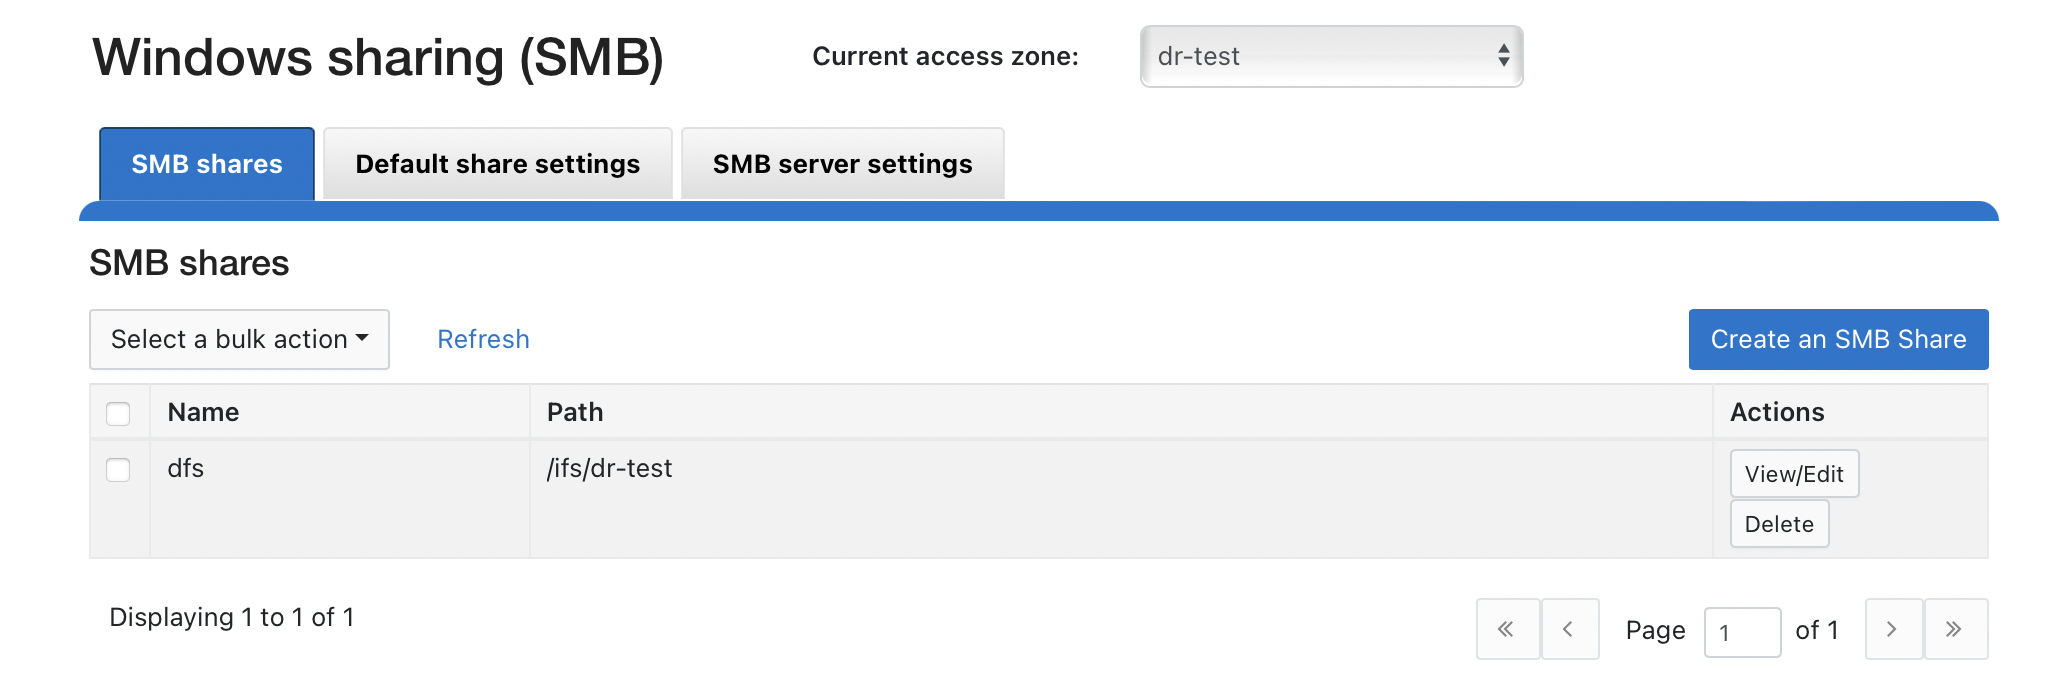
- Verify the access zone has the configuration data using Onefs GUI.
- Mount your Access zone IP pool created above with the smart-connect name to test testing.
|
|
NOTE: Make sure you mount the correct smart-connect name if you plan on doing destructive testing to the data. It is easy to make a mistake and mount the wrong smart-connect name. |
How to Delete Your Testing Snapshot and or Configuration Data
- Login to Eyeglass.
- Open DR Assistant.
- Click the Writable Snapshots tab.
- Select the testing snapshot to delete.
- Select the option to delete the snapshot and configuration data or only the snapshot.
NOTE: Keeping configuration data when no path exists will block mounting the configuration data unless a new Writable snapshot is created. 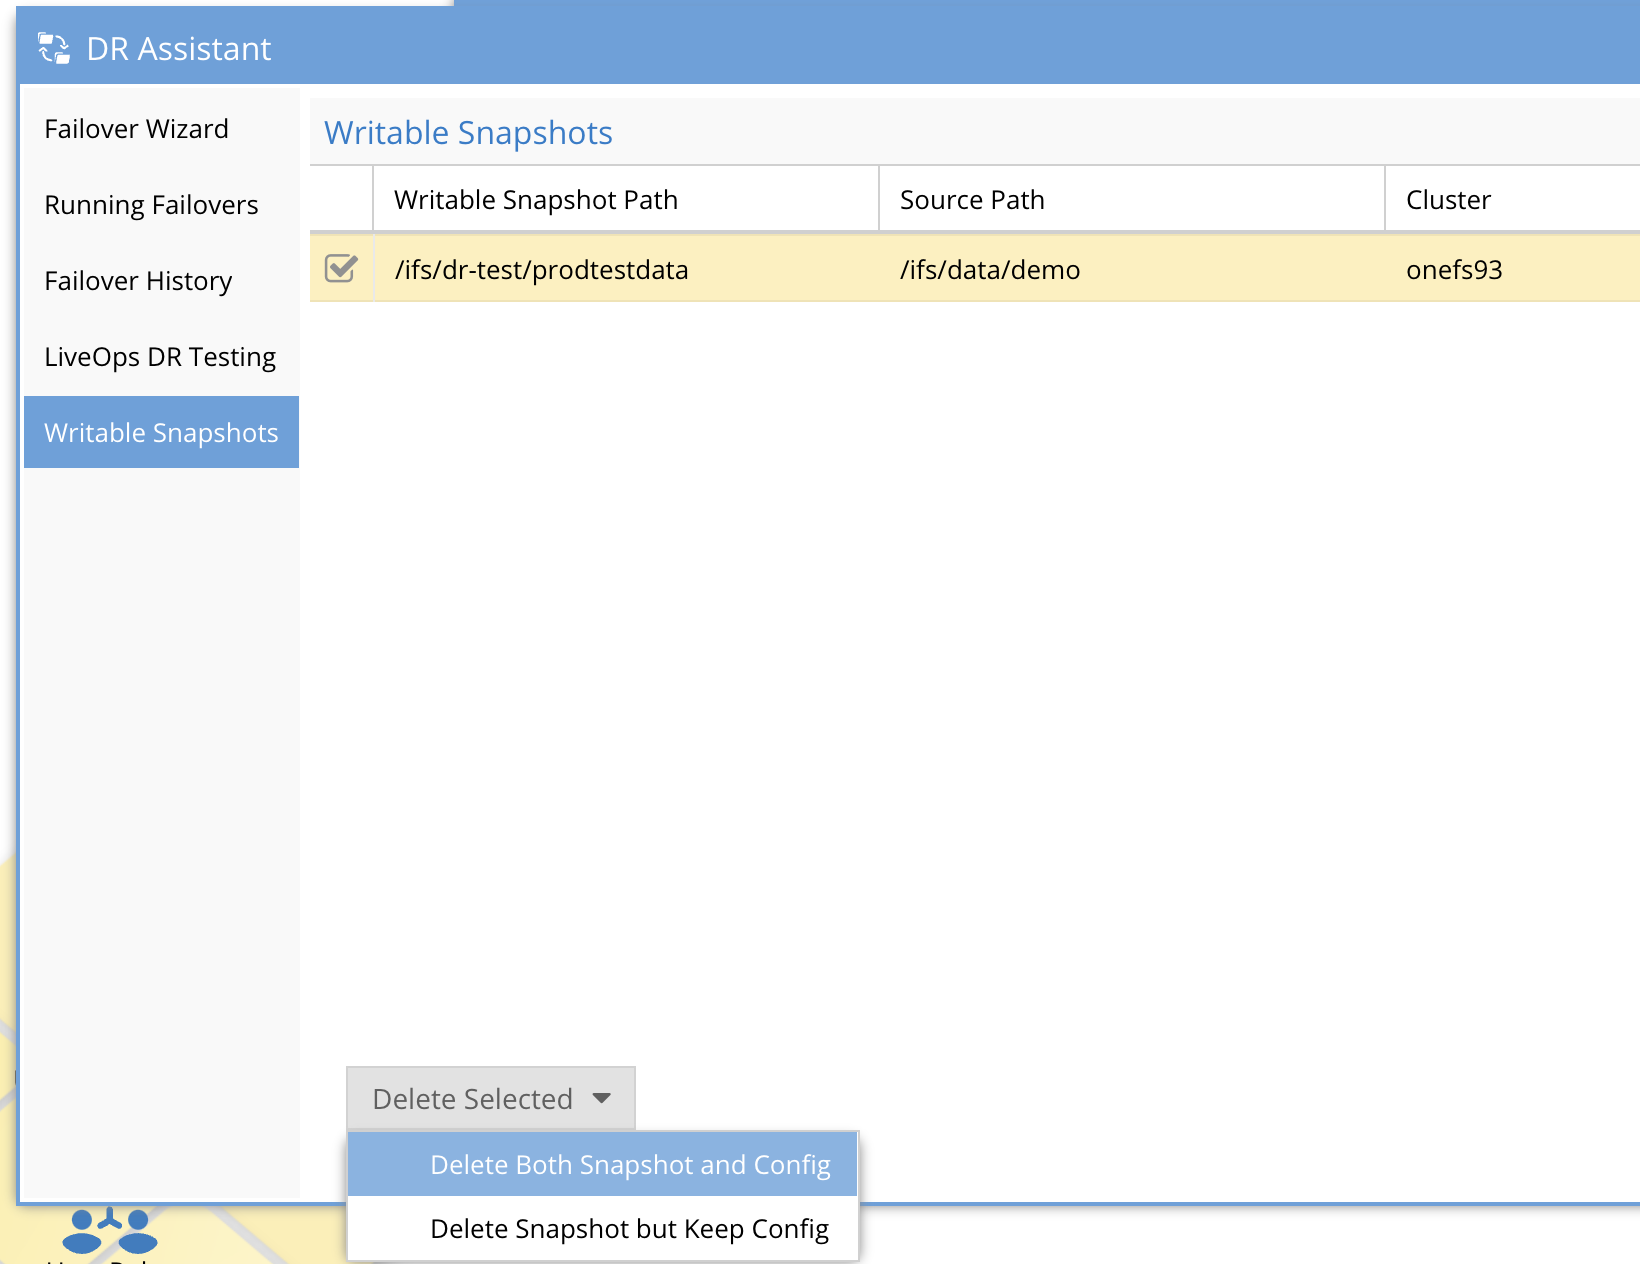
- A job will be launched to delete the select configuration and snapshot in the Running Jobs window.
- Done.
Automate DR testing