Deploy Eyeglass Probe
Prerequisites
There are no prerequisite for installing Eyeglass Probe.
Deploy Eyeglass Probe
To deploy the Eyeglass Probe on a UIM Robot:
- Login to the UIM Infrastructure Manager.
- Select the Archive where the probe was imported.
- Expand the Domains and hub folders until you can see the Robot where the probe will be deployed.
Hint: For the Eyeglass Probe, the Robot where it is deployed must have IP connectivity to the Eyeglass appliance.
- Drag the Eyeglass Probe from the package archive and drop it onto the Robot.
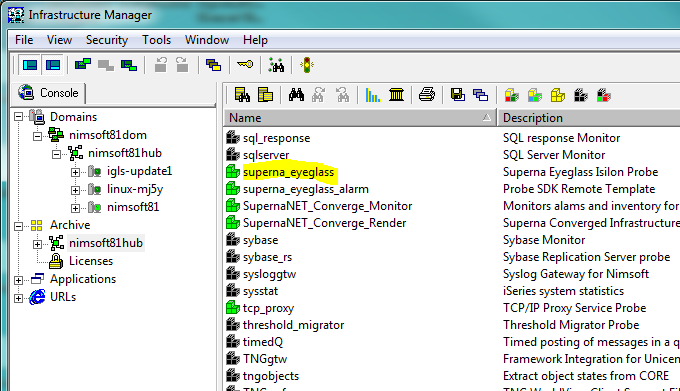
Figure 5 UIM Infrastructure Manager Archive Package List
- The Eyeglass Probe is automatically installed but not started until configured.
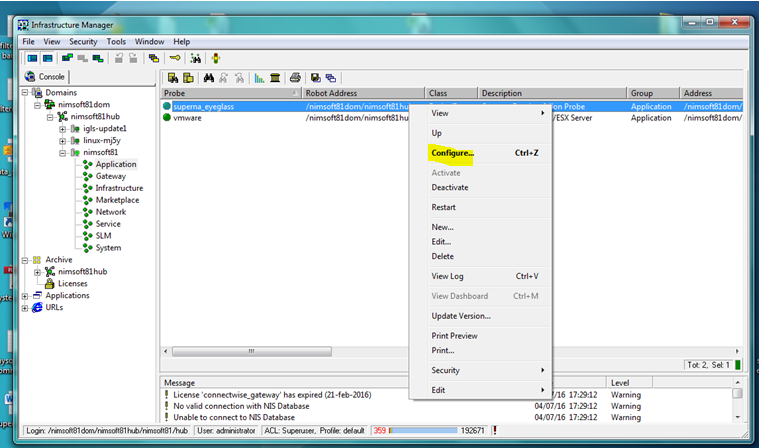
- Configure probe connection to eyeglass appliance from the admin console interface by selecting the Configure... option
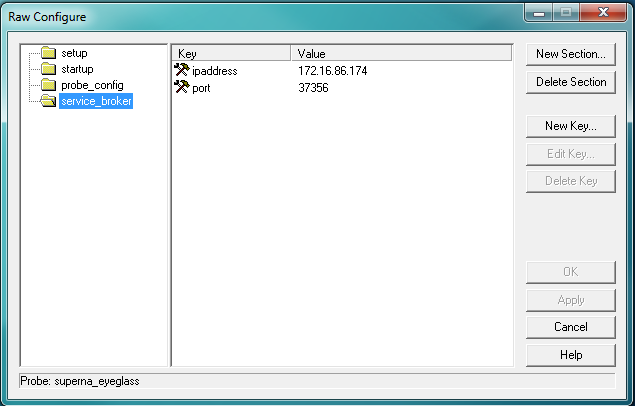
- Add the information required for the superna eyeglass probe to connect to the superna eyeglass appliance by selecting the service_broker folder in the Raw Configure window:
ipaddress: Enter the IP address of the superna eyeglass appliance for the probe to connect
port: Enter 37356 (This is the port on which the superna eyeglass is expecting the probe to connect on and should not be changed)
Example:
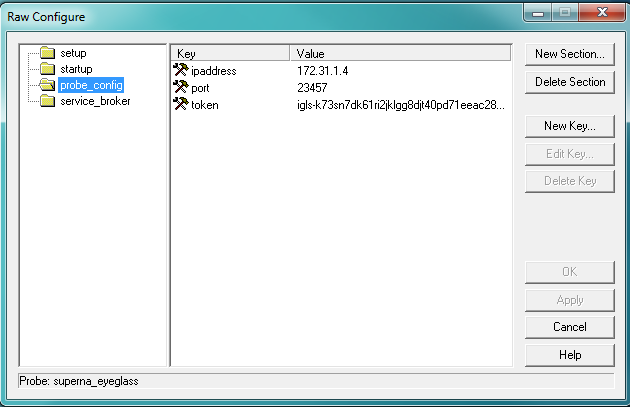
- Add the information required for the superna eyeglass appliance to be able to connect to the superna eyeglass probe in order to pass the alarm and event information by selecting the probe_config folder in the Raw Configure window:
ipaddress: Enter the IP address of the robot on which the superna eyeglass probe is deployed (default provided but can be overridden)
port: Enter the port on which the probe will be listening for notifications from the superna eyeglass appliance (default provided but can be overridden - port must be outside the port range allocated to Nimsoft)
token: Enter the authentication token generated in previous step Configure Eyeglass Appliance Probe Authentication Token
Example:
- After applying the configuration and click ok, the auto probe start should start the probe and attempt a connection to eyeglass appliance.
- To verify the probe deployment, select the Robot where the probe was deployed. You should see the Eyeglass Probe in the list that is displayed with “Yes” in the Active column.
![]()
Figure 6 Eyeglass Probe in the UIM Infrastructure Manager Robot Probe List
- If the probe does not start and show green with a process ID and port listed in UIM. Then proceed to troubleshooting probe startup section in Troubleshooting section
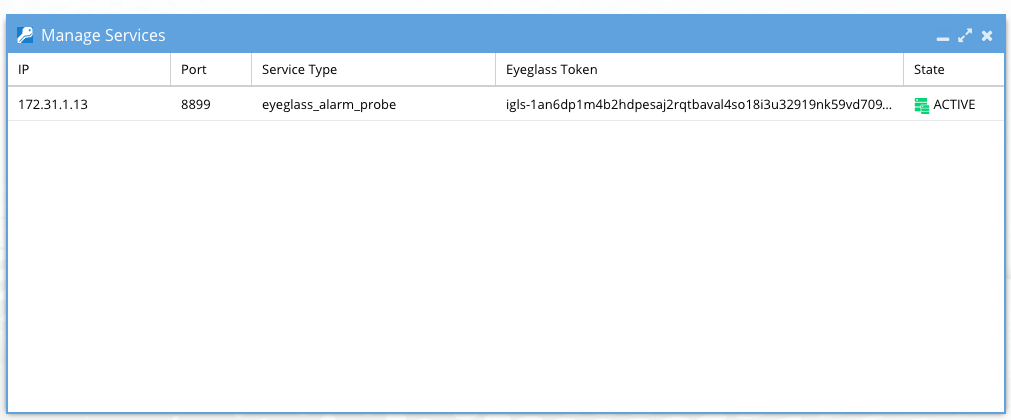
- Its also recommended the eyeglass appliance service broker lists the probe connection. This can be verified by logging into eyeglass appliance as was done for the add cluster steps.
- Then open Service Broker Icon on the desktop
- The login registration from entered during probe configuration should be listed with Active state which means a TCP connection is setup with the probe.
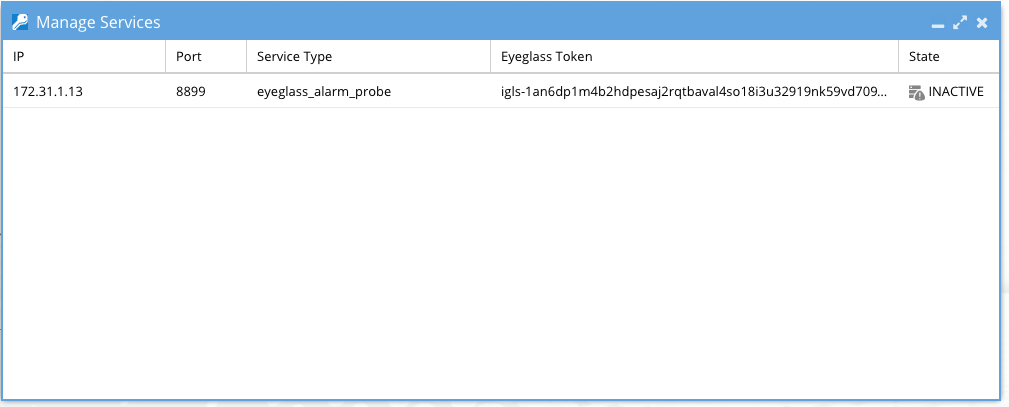
- If the Probe loses contact with the eyeglass appliance due to network issue the status will change to inactive.
- Once this configuration is completed, the superna eyeglas probe will be ready to receive alarms from eyeglass appliance devices monitored once configured in eyeglass.